On their own or in a cute gift basket of other handmade home goods, these easy pot holders are great for beginners trying to test out their machine or seasoned embroiderers who need a quick win.
Supplies:
- Scrap fabrics big enough to hoop
- Scrap fabric for binding
- Cotton Batting Scraps big enough to hoop
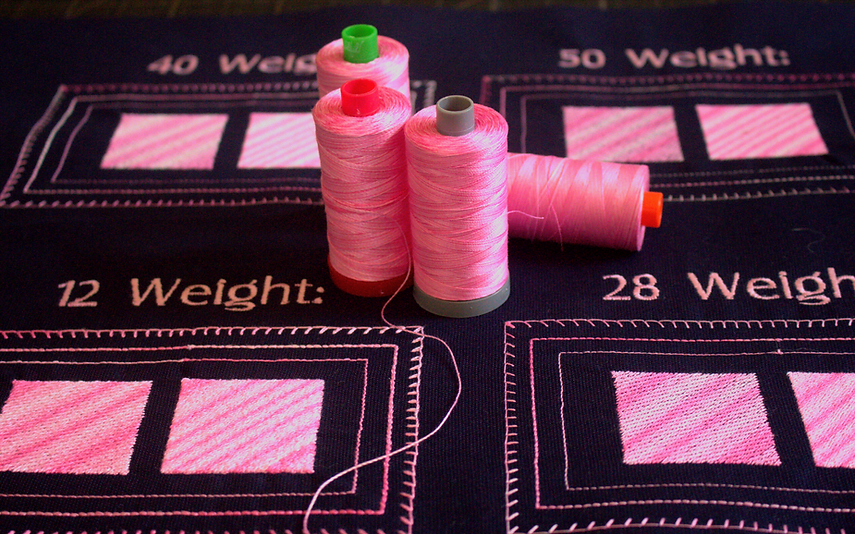
- 50 wt Aurifil Cotton Thread
- 75/11 Embroidery Needle
- Scissors
- Rotary Cutter/Ruler (optional)
- Spray baste
- Spray Starch/Sizing/Starch alternative
- Quilting Embroidery Designs (I used Tula Pink Quilting from OESD)
- Embroidery hoop (I used Large Oval)
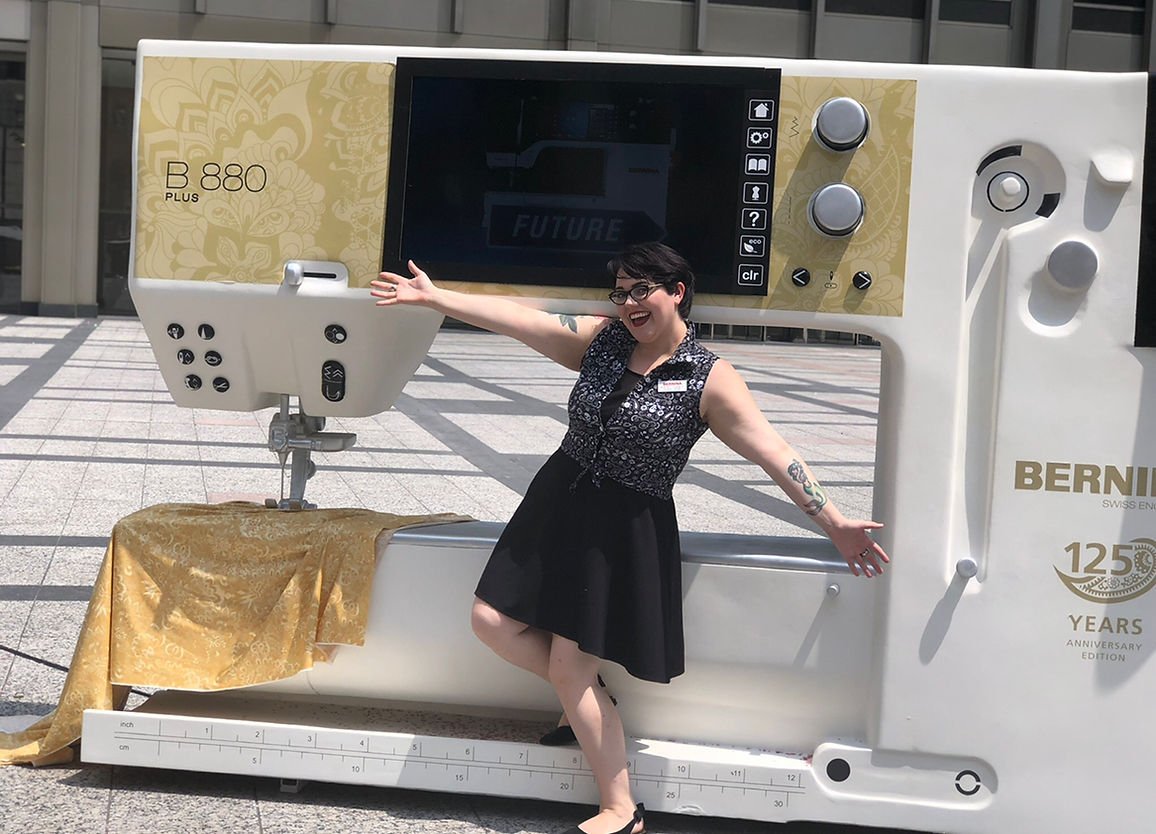
- Embroidery Machine (My BERNINA B880 PLUS)
Starch and press your fabric. The more starch/sizing the better! I love a well starched fabric for embroidery, it makes everything hoop easier and look better.
Make sure your fabric and batting pieces are big enough to hoop in the hoop (it needs at least 2 inches clearance all the way around the hoop). For each pot holder you will need a total of four pieces: two fabric pieces and two batting pieces.
Did you know batting has a right and wrong side? It does! Your batting will have “Dimples” or “pores” on one side and “pimples” or bumps on the other side. The softer, “dimpled” side is the right side and the textured, “pimple” side is the wrong side.

Now you can create your quilt sandwich taking care to spray baste between the layers and smooth them out thoroughly. How to create your quilt sandwich: Layer your two pieces of batting so the right sides are both up and the wrong sides are both down. Spray basting spray in between the layers and smooth them together. Apply spray baste to the top and bottom of your batting sandwich. Now add your fabric, making sure the right sides of your fabric are facing out on the top and bottom.

Smooth everything really well to ensure your basting spray has stuck and to create a quilt sandwich that is nice and smooth for hooping.

Hoop your quilt sandwich. It’s going to be bulky so be gentle as you hoop. Remember NO PULLING on the fabric or batting! If you get big bubbles, re-hoop the fabric and check that you spray basted your fabric really well.

Double check that you have your fabric right side out on top and bobbin. This is a BIG bummer to discover later so be sure now.
Prep the machine by threading it with your choice of Aurifil 50 wt cotton thread and a 75/11 embroidery needle.
Note about threading: Does your machine thread different for embroidery vs sewing, like my B880 PLUS?
Even though we are, technically, embroidering we need to take steps to prep our machine like we are quilting. I threaded my B880 PLUS for regular sewing, not for embroidery.
Now let’s get’s our designs ready. I used the Tula Pink Collection from Scissortail Stitches to fill the large oval hoop as much as I could.
Here’s a video I made to show you how I did this on my machine:
Note: If you have “Thread away” mode on your machine you will want to turn that off for quilting.
Hit go!

After it stitches for a little while stop your machine, cut your thread and check the back to make sure your tension is still lookin good. Adjust if necessary and then keep on stitchin.

Once finished remove the hoop from the machine and the fabric from the hoop.

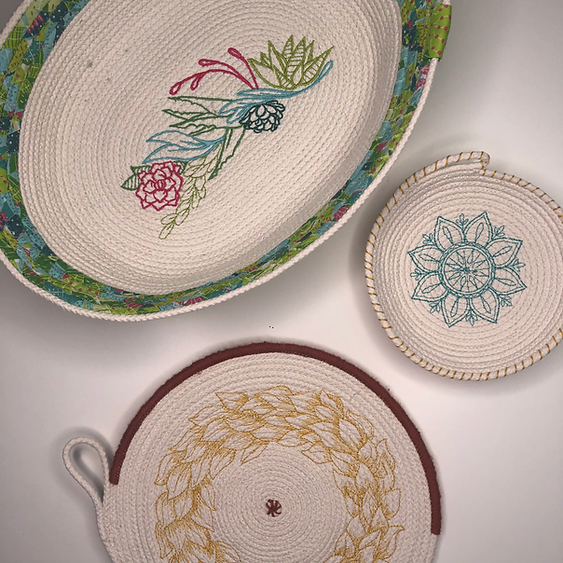
I like to use the inner most outline left from the hoop as a guide for cutting out but you can cut it however you like.

I also embroidered a square pot holder by bringing up a square design and just putting it in the middle of the hoop.

I cut out the square using my cute Tula pink square ruler and rotary cutter. You can leave as much or little space around the design as you choose. I eyeballed the center using a 6.5″ ruler.

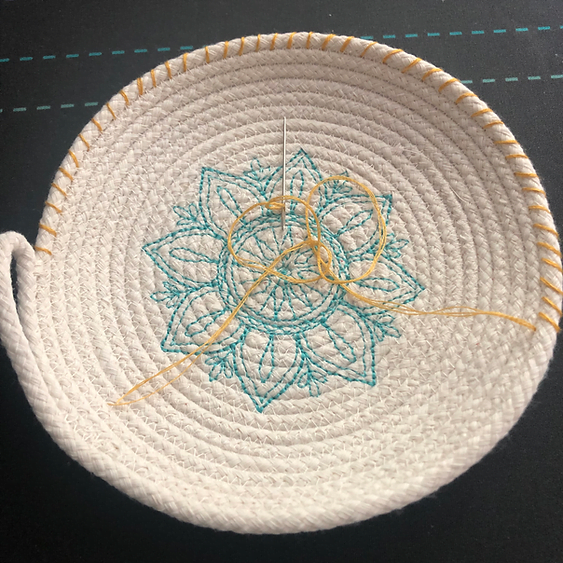
Bind the pot holders using your preferred method. I chose to hand bind purely so I could lounge on the couch and enjoy TV with my boyfriend while I finished them. I was able to bind both with one fat quarter and likely could have bound a third with the same FQ.

Note about binding the oval potholder: You likely want bias binding. I used straight binding because I only had a fat quarter of this wild Tula Pink fabric. It started cupping pretty badly but I was able to pres it flat using my laurastar iron. I suspect that I would have had better luck with bias but…whatever! I love it regardless.
All finished! Aren’t they too cute? I love how wild the backs are.

Catch me live every week in the Tough Kitten Crafts FB Group to ask your embroidery questions!
Click Here to Join the Facebook Group.
Below is my live from August 6th, 2020. The broadcast got interrupted so there are two videos this week: