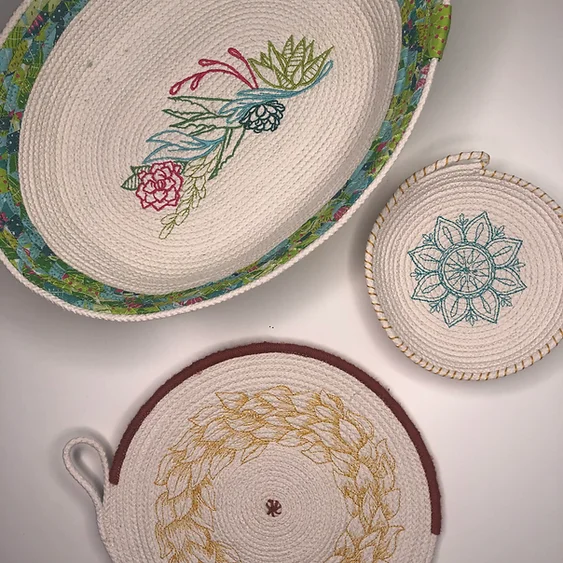
I did a three part series for BERNINA all about sewing and customizing your own machine embroidered Christmas stockings.
Part Two of the series covers how to embroider the cuff of your stocking, so you can personalize each and every stocking you make this year. My post on We All Sew covers how to embroider quilting cotton for your stocking but what if you want to use come cuddly, fuzzy, winter-y fabric like minky, fleece or velvet? How would that be different?

Let’s check it out!
This post (an unofficial Part Four) will teach you how to use napped fabrics like minky on the cuff of your new stocking.
Links with an asterisk are affiliate links. Thank you for supporting Tough Kitten Crafts!
You will need all the supplies listed in the main tutorial plus the following items
Additional Supplies:
- 1 FQ of napped fabric like minky
- OESD StitcH20 Water Soluble Topper*
- 75/11 Ballpoint Embroidery Needles*
I am using Cuddle Fabric by Shannon Fabrics but you can use this tutorial on any fabric with a nap or pile such as minky, velvet and even some types on faux fur. Velvet would be gorgeous on this project. Velvet is fun to work with but you have to be very careful with the velvet once you wash away the StitcH20 since velvet’s pile can easily be crushed while the fabric is wet. This is easily avoided by not touching the right side of the velvet while wet or only touching the wet velvet within seam allowances.
For more about embroidering velvet check out my article in the Winter 2021 Creative Machine Embroidery Magazine about making reusable wrapping.

I would recommend reading the full instructions in the post Machine Embroidered Christmas Stockings Part Two on We All Sew before you begin this version. You will be following those instructions, with the changes we will discuss here to accommodate the minky fabric.
Cut 2 Stocking Cuff pieces out of the minky. We don’t need any Fusible Woven for this part, But we will still need the StabilStick Cut Away Stabilizer*.

Note: When working with any type of napped fabric you want to be very careful about the direction of the nap to make sure that a. it goes the way you want and b. it matches throughout the project. You can see below the nap brushed against the grain (left) and smoothed down (right)

Cut a piece of StabilStick Cut Away Stabilizer* to fit your hoop and hoop the stabilizer as shown in step 9 of the We All Sew post. Cut a piece of StabilStick Cut Away* big enough to cover the entirety of your stitch field, from the back of the hoop. Turn over your hoop so you are looking at the wrong side of the hoop. Peel away the paper backing, stick it to the bottom of the hoop as shown below and smooth it firmly to ensure it’s well stuck. This is a great way to do two layers of the sticky stabilizer when you need that extra stabilization, plus it cuts down on waste and bulk which I know we all love!

You will mark your fabric the same way it’s done in the original tutorial, but depending on the material you choose it may be difficult to get a clean chalk mark. I like to mark as best I can with the chalk but mostly I go against the nap to “ruffle the fabric” and mark my center that way.

Place your fabric, right side up, on the stabilizer. Smooth with the grain of the nap to secure the fabric to the sticky stabilizer. Be sure you don’t accidentally smooth away your markings.

At this point I like to cut a piece of StitcH20* topper to cover the whole hoop. Set it aside.

Prep your machine to embroider. Install a 75/11 embroidery needle.
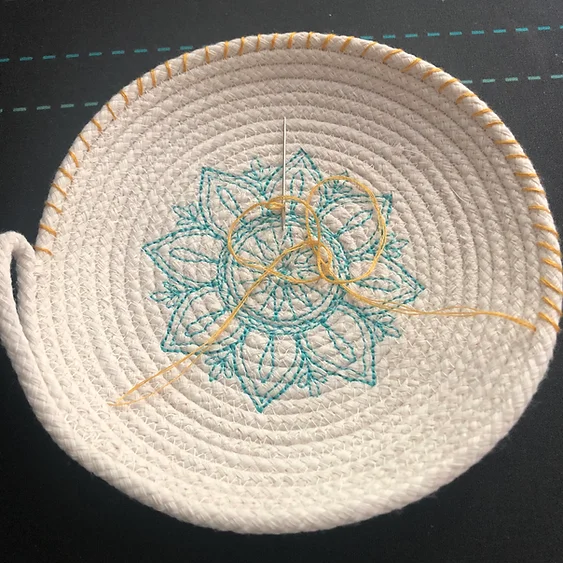
Go to your machine and load your design. If you want to make your name in Toolbox Software like I did, you can follow the tutorial on We All Sew.
This is when you will center your design over the crosshair we made.
Just before you start your embroidery, place your topper underneath your needle, over your fabric, so it covers the entire stitch field. You will want the textured side up.

Be sure to stich out a basting box around your design. I like to use one of my favorite BERNINA features here by utilizing the foot pedal to stitch out the basting box, that way I I can stop quickly and adjust the topper if it starts to slip around.
NEVER put your fingers in the hoop while your stitching, it’s my one steadfast embroidery rule that I am VERY adamant about.
If you want to learn more about my favorite BERNINA features, check out my blog post 5 Things I Wish I Knew Sooner About my BERNINA Embroidery Machine .

Stitch out your design.

Once finished, remove the hoop from the machine and flip the hoop over to clip the basting stitches from the back. You can then pull the thread from the front.

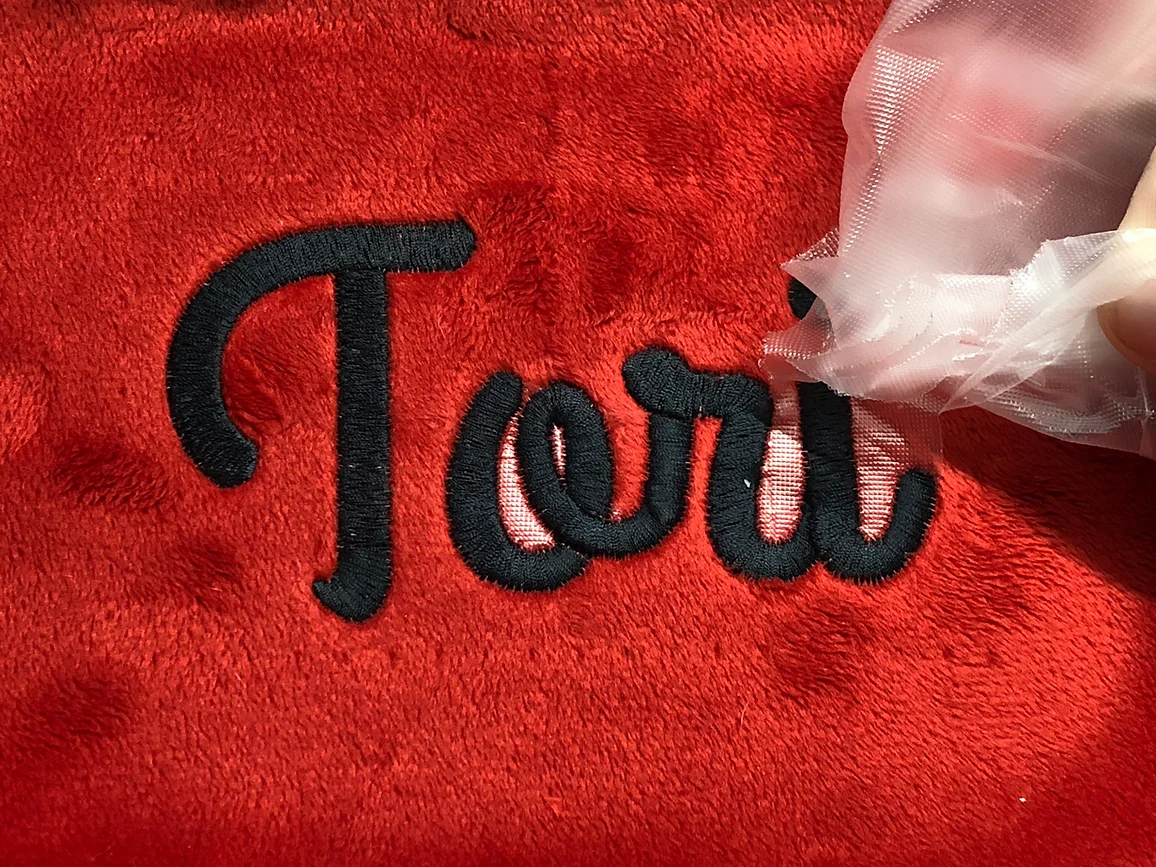
Flip your hoop over so you are looking at the front and gently remove the remaining topper. If you’re using a satin stitch font like mine it should be nicely perforated for you and easy to remove without water by supporting your stitches and tearing away the stabilizer. If you need to, dab with a wet cloth until remnants are removed.

You’re all set! Looks great. Head back to Part two of the tutorial to finish up your steps with the cuff. Then we can head to Part One of series for the sewing tutorial!

Yay! I can’t wait to see your finished stockings.
If you’re looking for more help with your machine embroidery check out my five part “Machine Embroidery For Beginners: Getting Started” blog Series.
Don’t forget to hop into the Tough Kitten Crafts Facebook group to show off your finished stocking! I really wanna see that cute finished project.
You can also check out my Beginners Guide to Machine Embroidery free download! This downloads will help you get started with machine embroidery today and even has a project planner sheet to help you get all your ducks in a row before you start embroidering.
xoxo Kate