

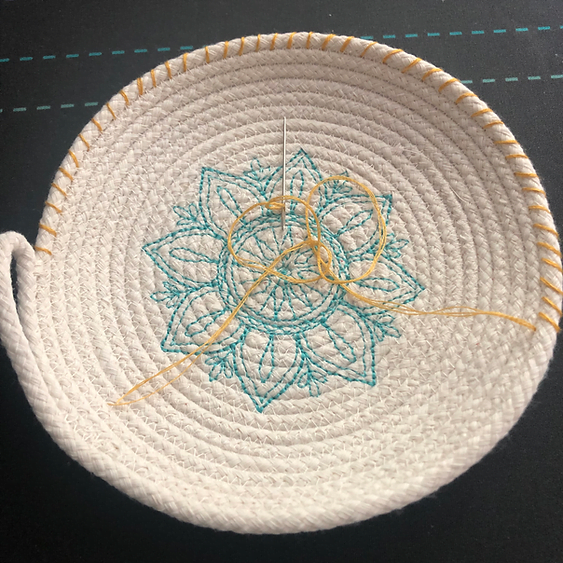
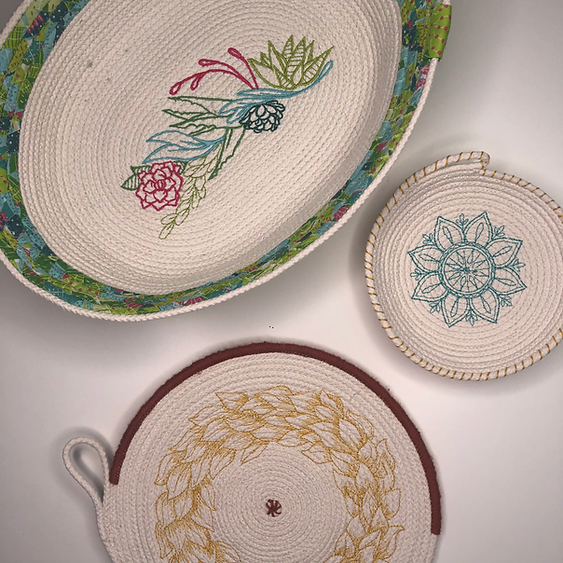
Looking for a way to use those leftover stabilizer odds and ends? I gotcha covered! Did you know you can make your own spray starch from all the left over bits that most people would throw away? Every time I embroider with wash away stabilizers and toppers, I keep all the little scraps in a box. No, I’m not really a “SAVE EVERYTHING!” type, but I do like reducing my waste whenever possible.
When I learned (through a Facebook group post) that you could turn wash away stabilizer into spray starch I was all in! I started making my own starch and I LOVED it. I have never had any issues with the starch leaving residue, a chalky cast or affecting my fabric in any way. It’s actually become my favorite starch because I truly love giving my fabric as much body as possible for ease of sewing and I get to control how strong the solution is!

“Why the hell does this work?!” You ask? Well, that’s because wash away stabilizers are starch based…that’s how they wash away! They dissolve down and become a liquid that simply washes away from your embroidery.
I have done this a handful of times now and only once did I follow this actual formula, simply because I’m the eyeballing’ type and I liked customizing it to my own preferred strength. My preferred strength is as strong as I can make it without it effecting the fabric or clogging the spray bottle. I’ll be interested to know what your preferred strength is!
I will have disclaimers in italics to let you know what I usually do versus the recipe I tested out.

Click here to learn more about my class B.E. Genius
Supplies
- 1 cup of chopped up wash away stabilizers
- 5 cups hot water (distilled is recommended but I never did that)
- 1/4 cup rubbing alcohol (optional)
- Spray Bottle
- Glass or bowl for mixing
- Tool to stir
Instructions
- Chop up your stabilizer into small bits. It’s okay if you mix toppers, meshes and films…it’s all starch based!
- Get about 5 cups of the hottest water your hands can stand (from the tap). We don’t want boiling water because I like to be able to touch it as we make it but the hot water will help the next step go faster.
- Place about 3/4 a cup of your stabilizer bits into the bottom of your mixing bowl/glass jar and slowly pour about 4 cups of your hot water over the top, stirring as you go.
- Stir, stir, stir but do so gently. Whisking or shaking will cause bubbles and we don’t want that.
- Check your consistency. This will be a little strange because you don’t really know what you’re looking for yet but honestly, you can’t mess it up! We can always add more water or stabilizer and you can always tweak it later, too. You want a stabilizer that is slightly more viscous than water (think watery hand sanitizer) but not too thick (Like hair gel).
- Wait for it to cool down to at least luke warm, then place it in your spray bottle. An amber bottle might be a nice touch, I just used a left over old starch bottle I had for more upcycle goodness.
- Now you can test it on fabrics. Read more about testing below.
- Once you like your consistency you can add 1/4 cup rubbing alcohol to keep your starch spraying nicely and free from bacterial growth. I only used alcohol once, and never had any issues with my spray even when I kept it in my sewing room unrefrigerated for months at a time. You have been warned though, keep an eye on that spray just in case.
How I test my DIY spray starch:
- Get a brightly colored fabric and a dark fabric. I use quilting cotton cause it’s what I sew with most but you can try different fabric types if you plan to use this on different types of fabric.
- Spray an even layer of your DIY starch over the fabrics.
- Let your starch dry
- Check the fabric:
- Is it sticky?
- Did it dry okay?
- Is there a chalky cast?
- Is there any discoloration?
- All good?
- Press your fabric with an iron as you typically would when sewing and check your fabric again for all the same issues.
If you see no issues then yay! You’re all set! Store that puppy in a cool dry place and don’t forget to keep an eye on it to make sure all is still well days, weeks, months later.
If you notice that it’s just not doing much for the fabric, you may need more stabilizer bits. Add them a little bit at a time and give them time to dissolve totally as your starch has likely completely cooled a this point.
If you notice your fabric is sticky, chalky, or doesn’t dry you likely have too much stabilizer bits! Thin it out with some water (a little at a time) and remember, stirred not shaken!

Stop Bad Hooping in its tracks…become a Super Hooper today!
By the way! When you’re making your FreeStanding lace items, especially ones that involve vertical construction, you can sometimes over rinse your stabilizer which causes the lace to be flimsy and unstable for building. Make up a nice and thick batch of this DIY starch and paint in on your FSL pieces to re-stiffen them! Re-stiffen is definitely not a word but I am totally leaving it in.
And that’s it! Please comment below or post about it in the Tough Kitten Crafts Facebook Group if you try this and let me know how it goes.
Click here to join the Tough Kitten Crafts Facebook Group.
You can also check out my YouTube Live all about embroidering FreeStanding Lace by clicking here. From the proper needles, to hooping with out slippage to proper rinsing (yes! You can do that wrong!) this free live class will help you learn to stitch out FSL/FSA like a pro!
Looking for a great FreeStanding lace project? Check out this adorable FreeStanding Lace Mistletoe I made. Click here to see the blog post.

Will you be making your own DIY Spray starch? Have you tried it before? Let me know all about it in the comments! xoxo Kate


One response to “DIY Spray Starch with Stabilizer Leftovers”
I love your information. Thanks sew much.
Bobbin Along
Shirley Rogers