The first time I sat down at an embroidery machine I was hooked.
I only knew that machine embroidery was a thing because I had accidentally bought a machine embroidery magazine once. Whoops. I was super green and not paying attention and I thought it was for HAND embroidery.
I think I still have it somewhere actually.
I’m pretty sure I never even looked at it.
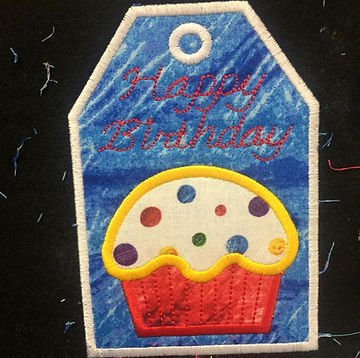
First ever embroidery project. Look how terrible this picture is. Why did I leave all the cut threads all over!? And the colors/fabric choices?! What!?
It was my first week at the quilt shop and we were making samples for class night when they handed me instructions for an embroidery project and told me to have at it. Once the terror wore off and I just dove in… I. Was. Hooked.
Totally and completely hooked. Over that half hour as my project stitched out so perfectly, I came to the realization that I should probably look into buying an embroidery machine at some point.
Four years later I now have TWO embroidery machines in my house and as I sing the praises of machine embroidery, I still hear a variation of the same thing at every class I teach:
“I’m really scared of embroidery.”
or
“I bought an embroidery machine but I am so lost on how to jump in”
I get it! My embroidery module (the thing that connects to your machine to do the embroidery) sat in it’s case for sooooo long before I ever dared take it out.
Once I finally did, the terrible results I produced scared me away for even longer.
It doesn’t have to be this way, though. Embroidery takes some know how (I mean, doesn’t every craft?) but it’s such a fun addition to your projects. I truly believe the machine embroidery resurgence is coming!
(Mostly cause it’s my mission to strong arm it to happen)
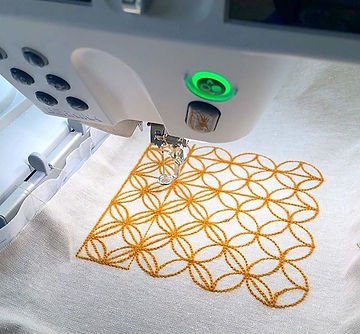
Sashiko 2 design from OESD with Aurifil 12 weight wool
So.
Let’s get ya moving!
Here are my quick and easy recommendations to get you started with machine embroidery.
We are gonna cover what to do if you are curious but don’t have an embroidery machine, some great first projects, resources to help you know what the heck you are doing and of course some must have tools.
I wanna learn about embroidery but I don’t have an embroidery machine! Check out your local fabric stores and/or machine dealers and ask if they have any machine embroidery classes or events coming up.
I highly recommend signing up for any big store events as they are not only a lot of fun but they are a great place to learn (Yeah, I teach them, so I am biased. But it’s true!).
I know what you’re thinking “Hello McFly! I said I don’t have a machine!” Just let the store know! Tell them you’d love to join their embroidery classes because you are excited to learn but don’t have an embroidery machine yet, they will help! I have not met a store to date that won’t lend a learning embroiderer a machine.
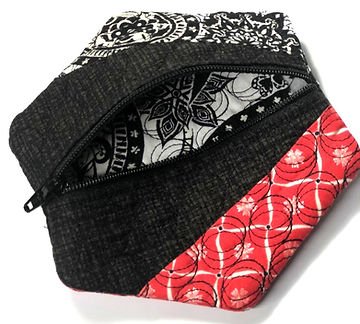
ITH Zippered Pouch from OESD
I have a machine but…like…what the hell do I do with it?
I get it. I do. Like what are you supposed to do just…start embroidering? And what do you do with that thing that you embroidered? Oh crap what about the stabilizer!? AHHHHHHH!
Breathe. There is a great solution to your embroidery nerves: In the hoop projects.
An “in the hoop” or ITH project is what got me addicted all those years ago and, when I came back around, it’s what got me more comfortable to finally dive in with embroidery for real.
In the hoop projects are completely finished via embroidery; the first stitch to the very last stitch is done “in the hoop” You don’t emboider something on the fabric then sew the item, it’s all done at once!
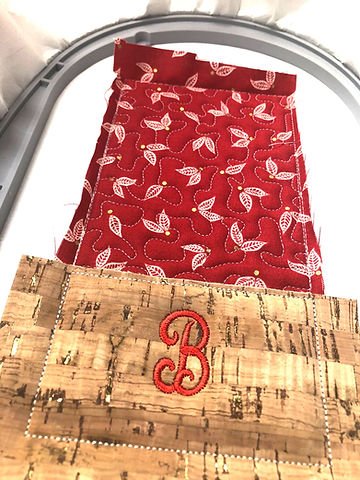
Sue Overy’s ITH Eye glass case is so fun to make and just about the best stocking stuffer ever.
You can create key chains, eyeglass cases, zippered pouches, baby bibs and even paper pieced mug rugs! There are great ITH projects out there for any occasion and I am a big advocate of them for newbies.
The best part about ITH projects is that they have very explicit instructions to follow so you can just push on like a normal sewing project. I think In The Hoop projects are super helpful for understanding how embroidery goes together and having a finished product with detailed instructions is great to take the edge off a wee bit.
And remind me…what do I do next?
Once you’re ready to venture off on your own and come up with your own projects…just freaking go for it! The number one thing is make sure you are stabilizing your project correctly.

Click here to get your OESD stabilizer guide.
I know you will have questions on how to do that, it’s a lot to learn! Head over to EmbroideryOnline.com and get your own stabilizer guide and then jump on WeAllSew.com to join Sue Overy’s 12 Week Embroider-along! Sue’s posts are SO helpful and will cover all the bases to get you started on all those ideas you have swimming in your head. You definitely want to buy OESD stabilizers, out of all the brands I have tried nothing comes close to OESD, but what you buy is dependent on your project (hence the guide!) I always have Ultra Clean and Tear on hand not only for embroidery but also for paper piecing, button holes and stabilizing decorative stitches. I recommend getting some good snips to make your work much easier. I love these OESD curved snips and these 4″ Curved Embroidery Scissors, they are perfect for trimming away threads or fabric during embroidery. I learned the hard way that good scissors make all the difference!
I hope you have a great time getting started and if you have any questions at all about products, designs, projects, tools, anything! You name it! DM me on Instagram or drop me a line at [email protected]
Don’t worry!
There are many awesome machine embroidery tutorials and projects coming up right here in the very near future.
Can’t wait to show you what I have been working on!
What kind of projects are you excited to get started? What sort of things do you want to see here?
What questions do you still have about embroidery?
Comment below and let me know!
xoxo Kate

