I love the glimmer in sewists eyes when I profess my love for Aurifil’s 12wt thread.
The wonder, the excitement, the sheer curosity and sometimes even a tinge of fear.
-Aurifil has 12 wt!? -Do you really like it?
-When do you use it?
-What do you use it for?
-How do you use it? -Is it difficult to work with?
I am so happy to answer ALL the questions I get and even happier to help you find answers when I don’t know them. Speaking of answers…
-YES! You have to try it!
-LOVE IT.
-As often as I can.
-For quiting, topstitching, embroidery, applique…anything decorative!
-Bigger needles, thicker bobbin thread, lower tension, very slowly.
-Nope! Just do the things and all will be well.
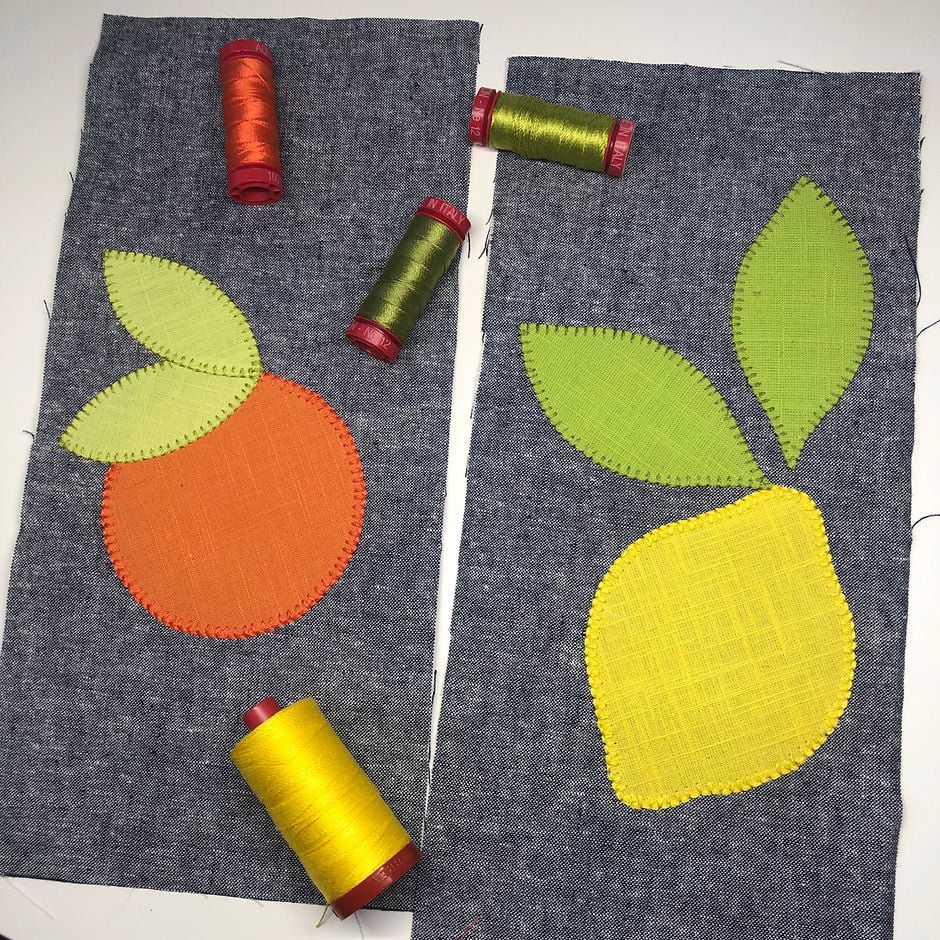
12 weight is begging to be seen and unlike it’s floss counterpart, it’s also begging to be used in your machine! Who am I to turn down that kind of request?
I would never.
There will be so many tutorials and projects for 12 weight thread in the future. It’s gonna be great.
As for today I want encourage you to use 12 wt Aurifil to add interest and texture to your next applique project. That’s right. “I want to encourage you” I have full politician language happening here as I try to influence you into newa nd exciting endeavors.
I am a texture fiend.
I’m terrible at quilt shows because I love to touch and feel that gorgeous texture crated by these creative geniuses. It’s this reason that 12wt Aurifil caught my heart so quickly and completely. It’s a gorgeous way to add decorative details to just about any project you have. No, you don’t use it to piece your quilt, but you sure can use it for that stunning quilting. You can topstitch that bag. YOU CAN EMBROIDER WITH IT.
My blog doesn’t have emojis but this is where like 12 heart eyes emojis would go.
Using two types of OESD fusible interfacing, Andover Textured Cotton Solids and the brilliant Aurifil 12 wt we are gonna dress up this little hand drawn applique and pack it FULL OF TEXTURE.
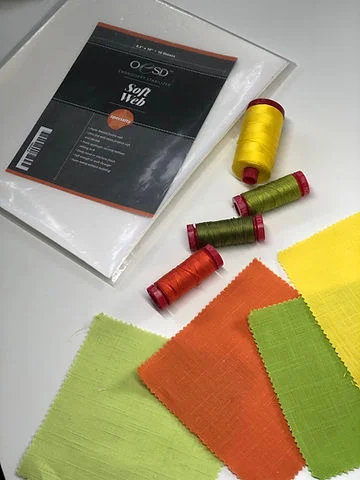
When this cute little idea popped up in my brain and I got all my cute little pieces together for a cute little photo I was suddenly smacked with my old friend…indecision. Should I use my favorite paper backed fusible web, Soft Web by OESD, or my favorite sticky backed fusible web, Applique Fuse and Fix by OESD. Which would people like to see more? Which would lend itself best to the project.
I wavered. I took both pictures.
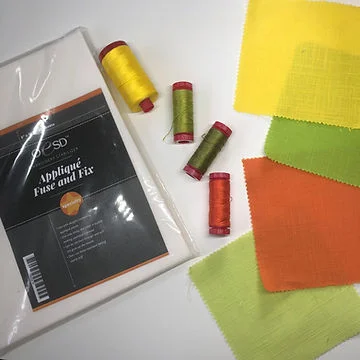
Then I realized, like the sweet little girl on the Old El Paso commerical, “Why not both?”
So in addition to telling you how to use 12 wt in your applique, I will tell you the pros and cons of my two favorite fusible webs for applique. I used Soft Web for my beautiful lemon applique and Applique Fuse and Fix for my adorable orange.
First thing, fuse your web onto your fabric. My natural inclination is to be stingy with stabilizer and interfacing but not here, not now, now way. You need plenty of fusible on the back of you fabric. For each one, I fused my whole 5×5 square even though I wasn’t using my whole 5×5 square, ya dig it?
In this case I hand drew each item on the back of the squares using a marker. Let’s look at the visual differences between the two:
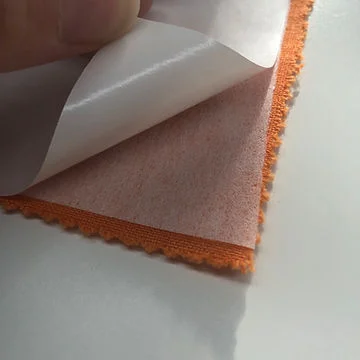
Fuse and Fix has so much body to it, I love it. You can see here that once adhered, it’s very opaque.
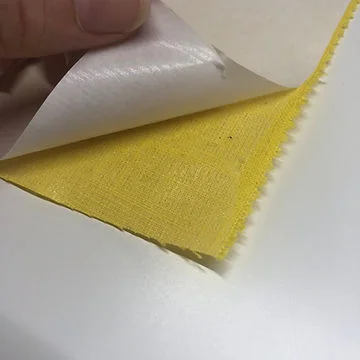
Soft web. Everything about it is soft. It’s clear on the fabric and just looks soft and dreamy.
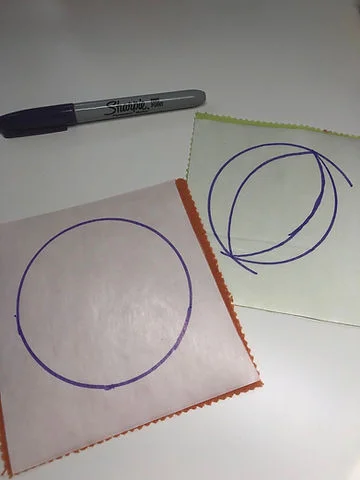
My orange and it’s leaves get hand traced on the backing (before I just hand drew the leaves myself)
Fuse and Fix: It has the glossy paper you see above which means that it can smudge if you use something like a gel pen that needs to dry. I used a sharpie for this reason. I have definitely smudged gel pen onto the fabric side of a project because I was rushing and used the wrong pen….it’s the biggest bummer of applique life. Avoid it.
Soft web: It’s int he name: soft. Because it’s paper backing is thin and I was using such light fabric, I chose to draw my shapes with the EXACT GEL PEN I avoided on the Fuse and Fix. The purple sharpie may have been fine but I didn’t want to risk it bleeding through or causing any issues.
These are all little things ya gotta think about when choosing your fusible web. I love them both so much but they both have very different uses and depend on the project.
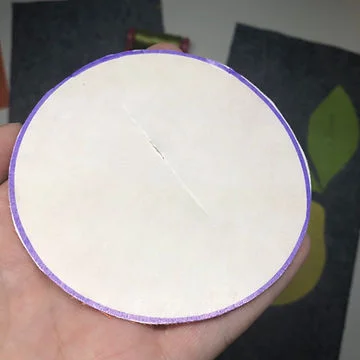
Once you have traced or hand drawn your shapes it’s time to cut them out. I obviously just had to do some Florida citrus because as a full on Florida Lady, I am obsessed with all things orange and lemon print. 12 wt lends itself so well to that hand done look that I even ended up free handing the leaves and lemon; I felt like it would enhance the over all end result.
Take care to ensure your fusible web is completely fused and peel away with care. In the above photo you can see I actually scored the center of the Fuse and Fix so I could peel away from the center and not ruin my beautiful edges (I personally would NOT score Soft Web, too delicate. Just gently peel from an edge.)
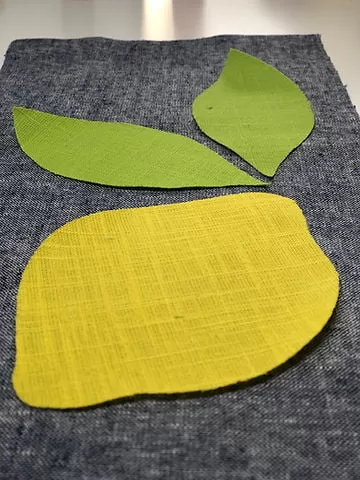
You can even see in this photo how the soft web still allows the fabric to move (that slight curve in the corners). It also allows the dark fabric to show though in the smallest way, another thing you need to be aware of when choosing your web. Remember, this is PAPER backed…so once you find where you want your shapes to go you need to use Wonder Tape or pins to affix them in place.
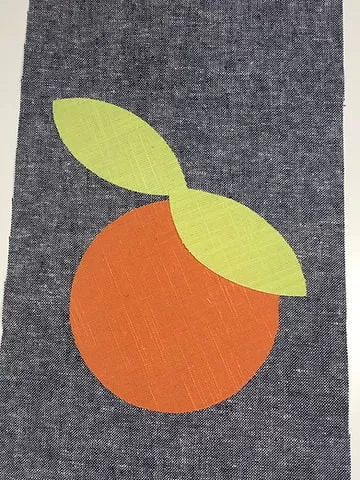
With the sticky back removed you can choose where you want your shapes and they STICK. That’s the genius of it right? And don’t worry, if you need to adjust they remove and stick again with ease. Like, not even kind of a problem.
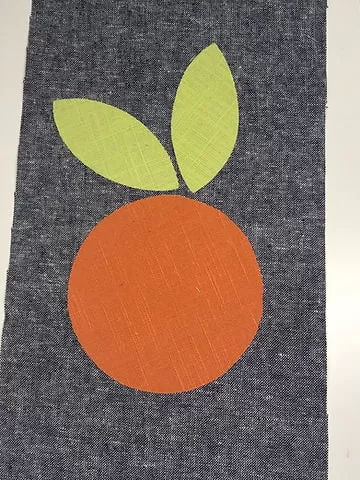
So get your pieces exactly right then, they are all set to wait until it’s their time under the sewing needle.
Let’s get back to our 12 wt.
SEE HOW GORGEOUS IT IS!?!
This is Aurifil 12 weight cotton and let’s do the rundown of how I set up the machine to make this work.
–Aurifil 12 wt cotton or wool up top
-Thread tension turned all the way down to 2 (Play with it based on your machine)
-Triple blanket stitch around the fruits, single blanket stitch for the leaves
–Heavy weight cutaway stabilizer under the fabric to stabilize the stitches (medium weight tear away or a fusible woven could work too, I just hand it in sheets on hand)
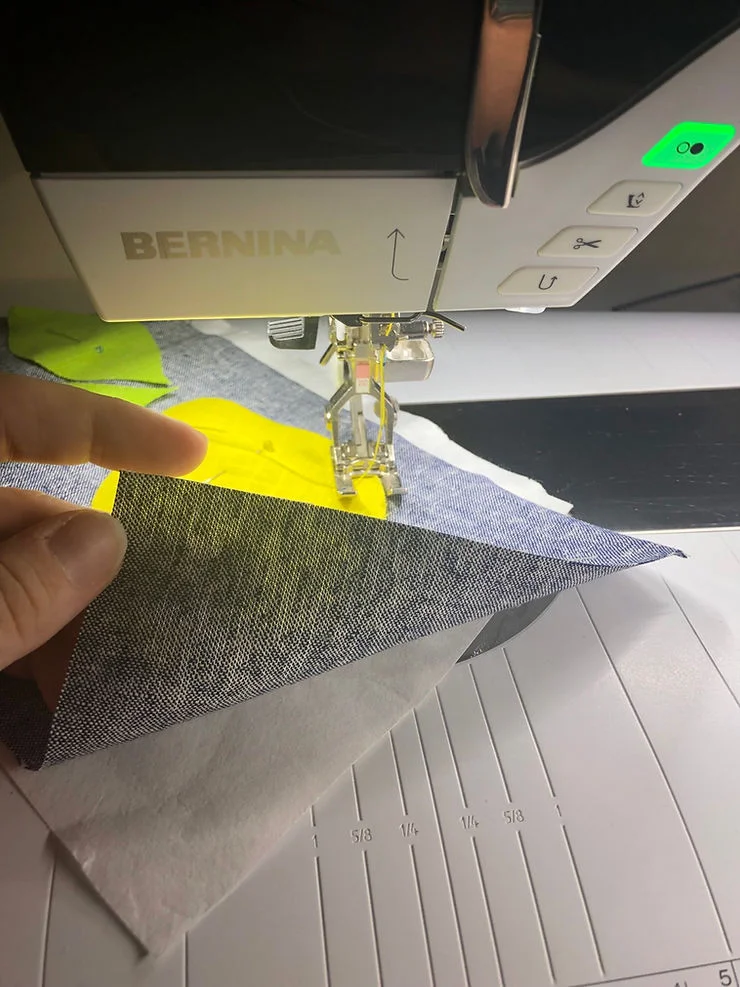
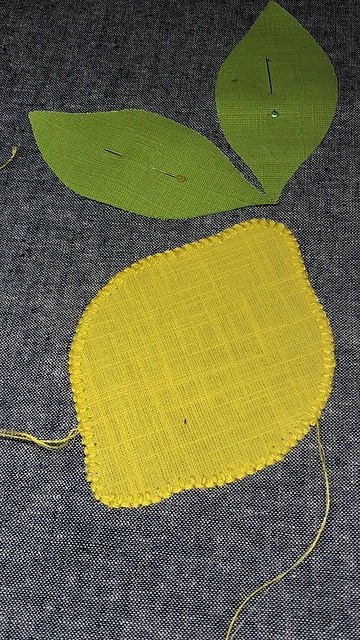
Lemon pieces pinned to my fabric and heavy weight stabilizer under the fabric, ready to stitch.
I played around with my stitches a lot before deciding on the final size of 3.5 mm x 3.5 mm for both.
I could have gone down to 2mm x 2mm, which is closer to how I usually applique but I thought it all looked rushed and clumsy, so I pushed the size up and up and up until I saw what I was wanting: big ropey almost handmade stitches in the smallest size I could get them to still look beautifully done.
Oh, by the way. I typically use a 100/16 needle, especially if I am using 12 wt with any speed at all. With my applique I stitch very slow and deliberate so I had no issues. Should you have any issues with thread breakage or poor tension, change that 90/14 out to a 100/16.
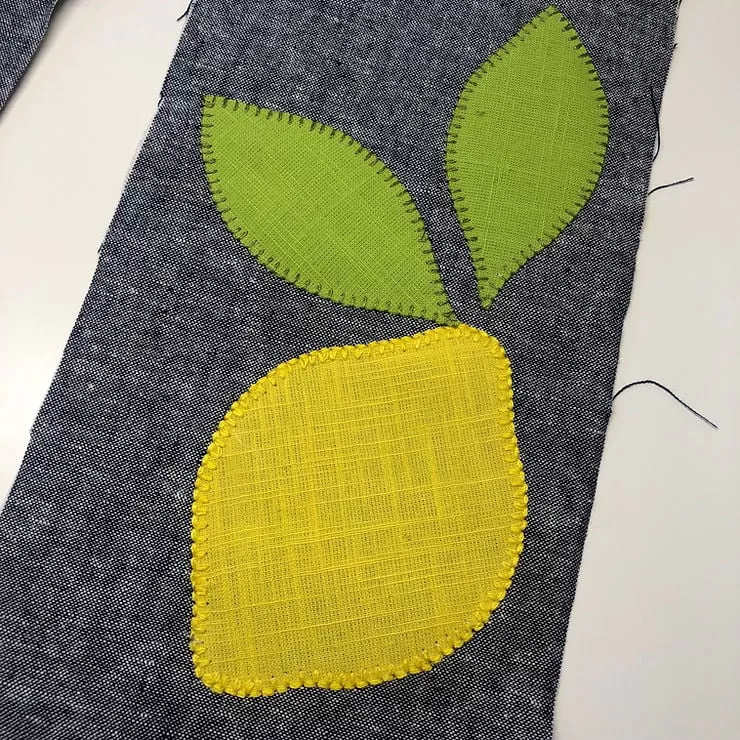
I love this lemon.
I love that hand done, almost vintage look. I let go of a lot of my perfectionism and just let the corners and points do their thing. This isn’t a precision job, this is cute and crafty and fun.
Notice that the dark fabric underneath shadows through the lemon a little. I wish you could feel how awesome it feels, too. It’s soft, flexible and easy to quilt through.
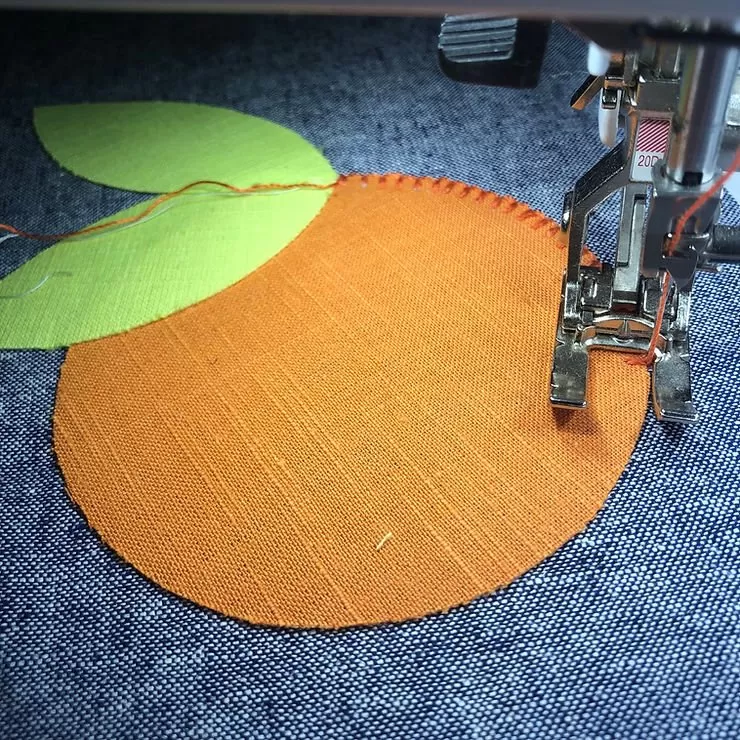
Using my #20D foot and relying heavily on my BERNINA freehand system, I slowly stitched each corner, point and curve. Be like Elsa and let it go, the hand done look plus the endless texture of the fabric and threads means one misstep will never be noticed.
On my orange piece I decided to use thread that was slightly darker than the fabrics I used to add some great dimension. Letting your thread be darker than your fabric adds a very cool shading quality to the project, which I love and tend to do more often than not. You can go lighter, I don’t love that look but you might. When you go lighter it can give a nice halo affect to your applique.
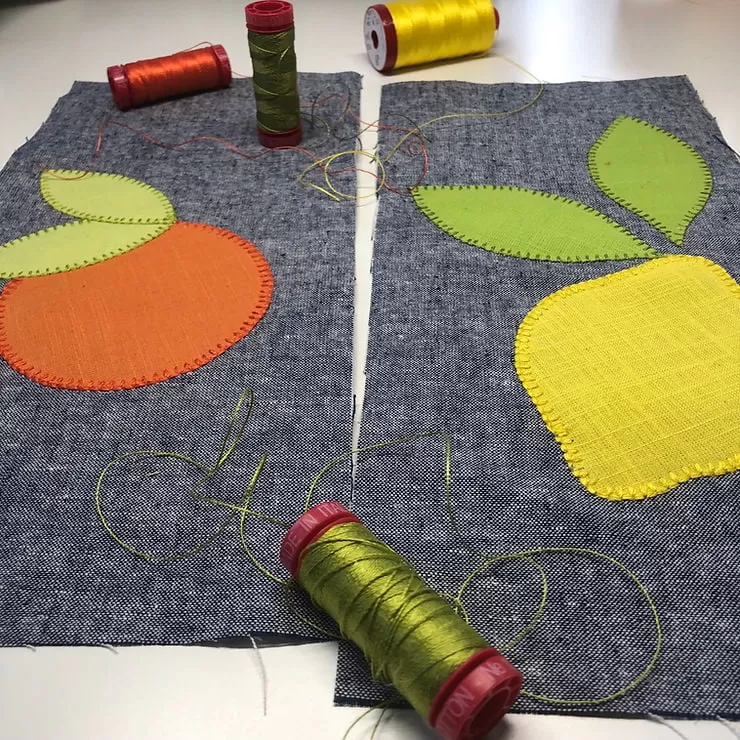
The thread is the real hero here.
Look what that 12 wt does to these blanket stitches.
Remember, that’s a triple blanket stitch on the fruit and single blanket stitch on the leaves, both are stunning and bold.
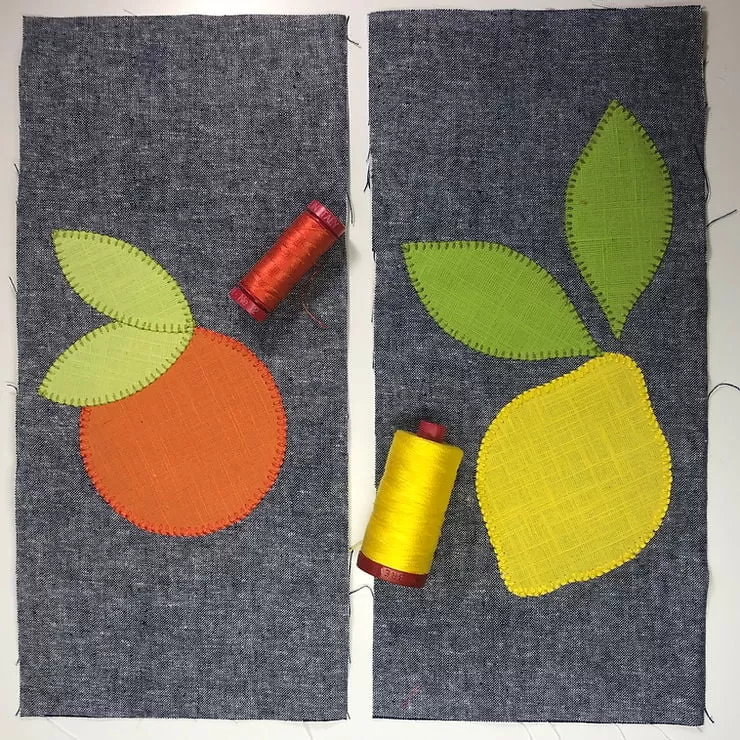
As for the fusible web you can see both work GLORIOUSLY, you just have to choose based on your project and the properties of both fusible webs.
I use Fuse and Fix (above, left) when I want to add body to the fabric, won’t be adding much more than a stitch around the applique and/or need those pieces to stick to my fabric until I’m ready to stitch.
I absolutely love Soft web (above, right) for quilts or clothing, anywhere you need the fabric to stay soft and pliable. It’s that lightweight feel that means it quilts beautifully and can even be stitched by hand with ease.
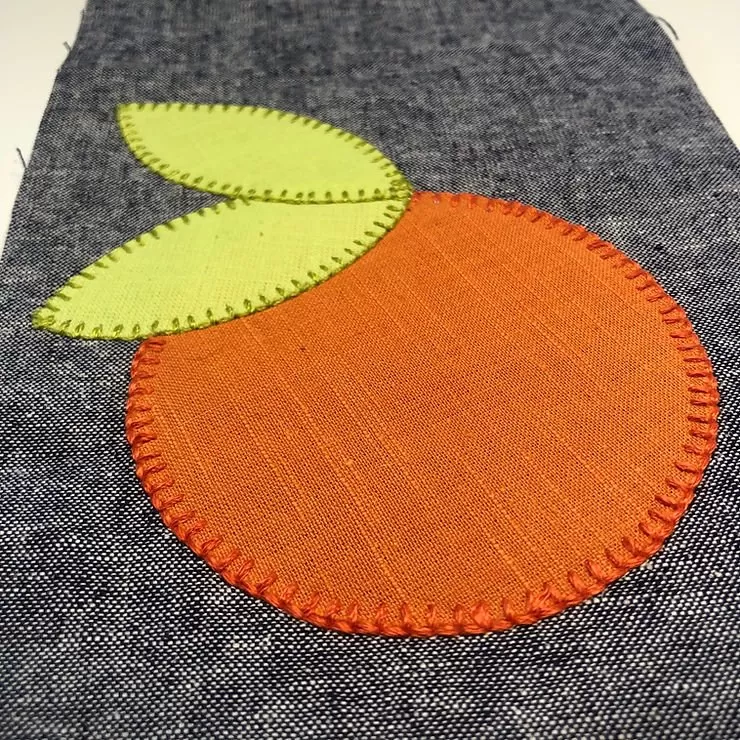
That orange is my favorite thing. I haven’t decided where these two will go from here but I am planning out what to do with the final fruits. I’m even thinking of adding some strawberries, pineapple, watermelon, all the cutest fruits for a table runner or wall hanging.
Have you used Aurifil 12 wt before?
How did you use it in your projects?
What do you want to see with 12wt or want to know about using it?
xoxo Kate

