Do ever suddenly become obsessed with something you have to make IN THAT INSTANT? Something you MUST get on the machine as quickly as you can?
That’s what happened to me when I saw this freestanding lace mistletoe! I have been looking for cute Christmas decor that won’t take up too much space when it comes time to store it.
See, I love Christmas decor more than anything but I am in a rental house with zero closet space. I truly mean none.
Love this place, love this location, I hate the storage for holiday decor. When I saw this freestanding lace mistletoe from OESD I immediately bought it and put it on a USB; the time from seeing it on the site to having it in my machine was under 15 minutes haha!
Have you ever made freestanding lace? It’s so cute, it’s so impressive and it’s so easy. Those are my fave things in a make: lotsa adorable bang for your buck.
I have seen some people made a big to do about it, so I assumed that it was kinda finicky, but in my experience, that’s not true at all! It was so simple and with the know how I acquired from doing this mistletoe, I’m ready to tackle my next freestanding lace projects with confidence!
Wanna try your hand at freestanding lace?
Would you feel better reading a run through first? I get it. I do! I’m the same damn way.
Read along, then go forth and tackle your own mistletoe!
Oh and this post contains affiliate links.
Clicking the link and shopping the items means you’re supporting
Tough Kitten Crafts, for that I am so so so grateful!
First thing’s first, you need to have some OESD Aquamesh (you can pick some up here) and the OESD Freestanding Lace Mistletoe. I have tried other brands of wash away stabilizers for freestanding lace and I have to say that nothing works as well as OESD does.
Aquamesh is an opaque mesh, water soluble stabilizer that rinses away (quickly) with warm water. Aquamesh is ideal to use for freestanding lace, it’s also perfect to use on sheer or lightweight fabrics, when all traces of stabilizer must be removed. It comes in varying size rolls, based on the size embroidery hoop you would like to use it with.
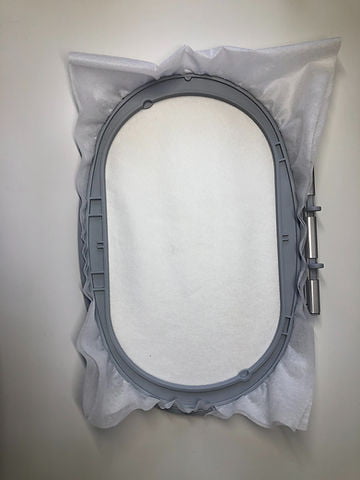
Hoop up two layers of Aquamesh.
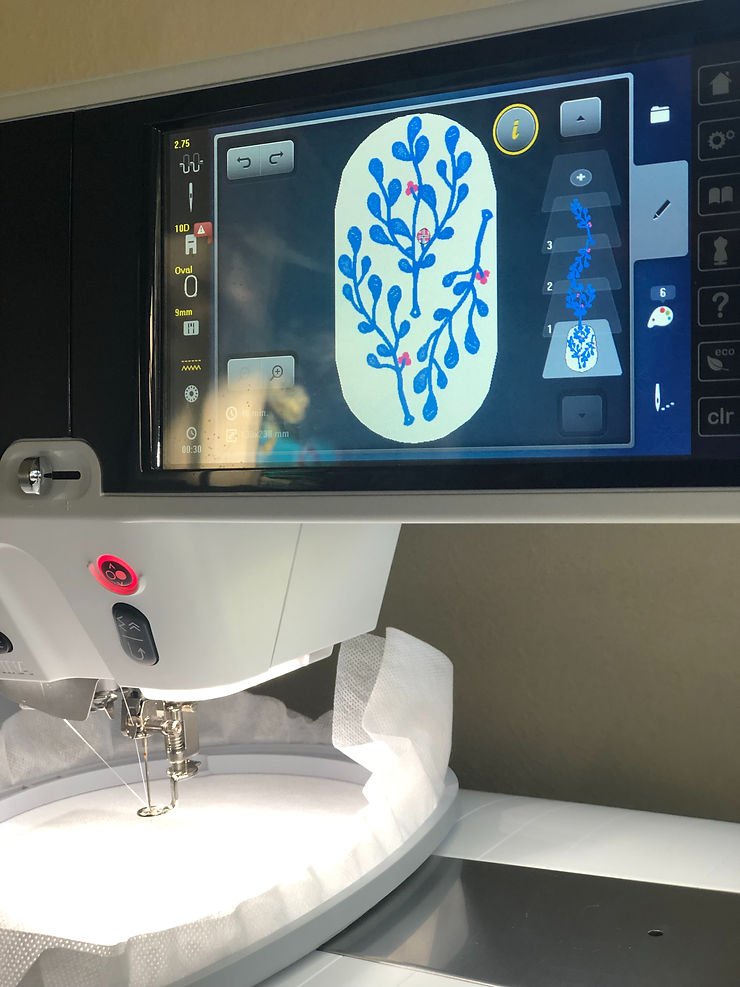
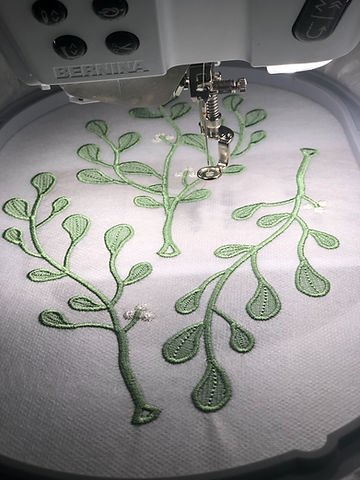
With my B880 I was able to combine different pieces of the mistletoe together on my screen that way I could fit multiple pieces of embroidery into one hooping. I am using the large oval hoop that came with the machine but I would love to get a jumbo hoop! I might have been able to fit all of the mistletoe in just one hooping that way.
Santa baby…
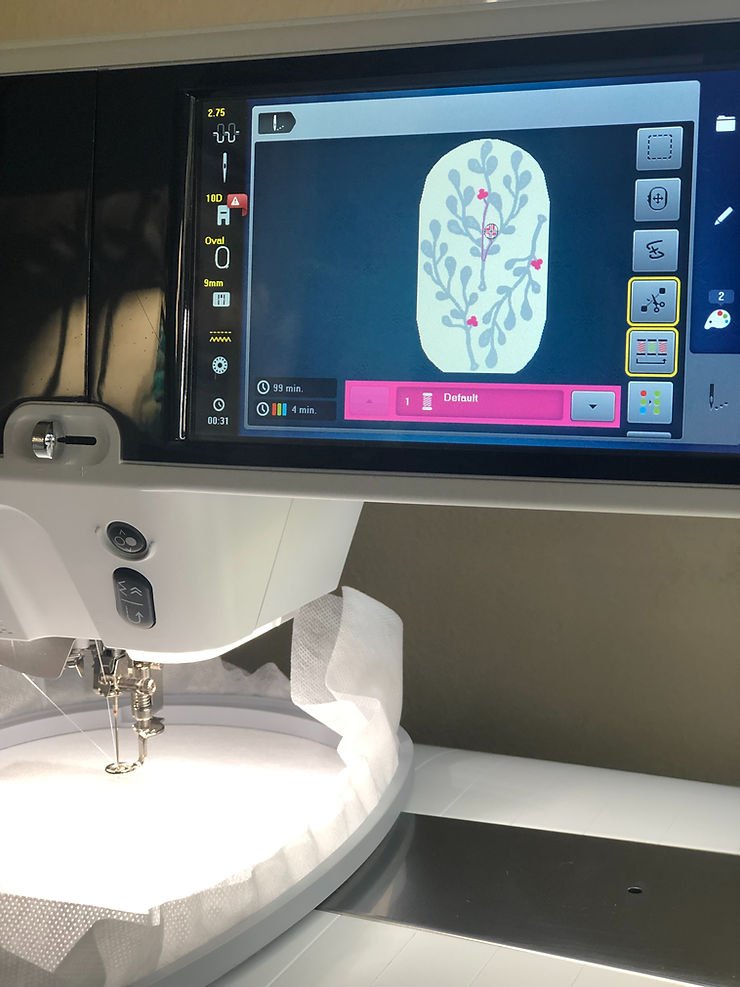
See that button that’s highlighted? The one with the three spools?
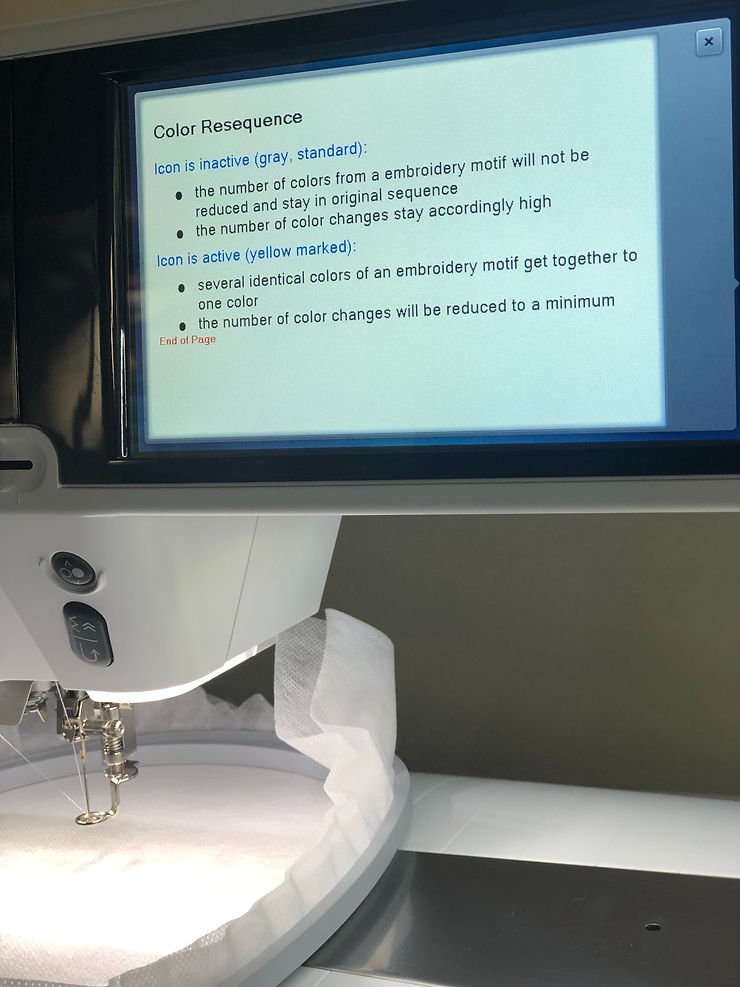
That’s Color Resequence and since I grouped multiple items together, I wanted to make sure all the berries sewed at once and then all the mistletoe so I made sure that was highlighted. Here’s the explanation the machine gives:
Away we go! Start your embroidery and be amazed!
This stitch out took some time so I did laundry and sewed up some Christmas gifts while my 880 did her thing.
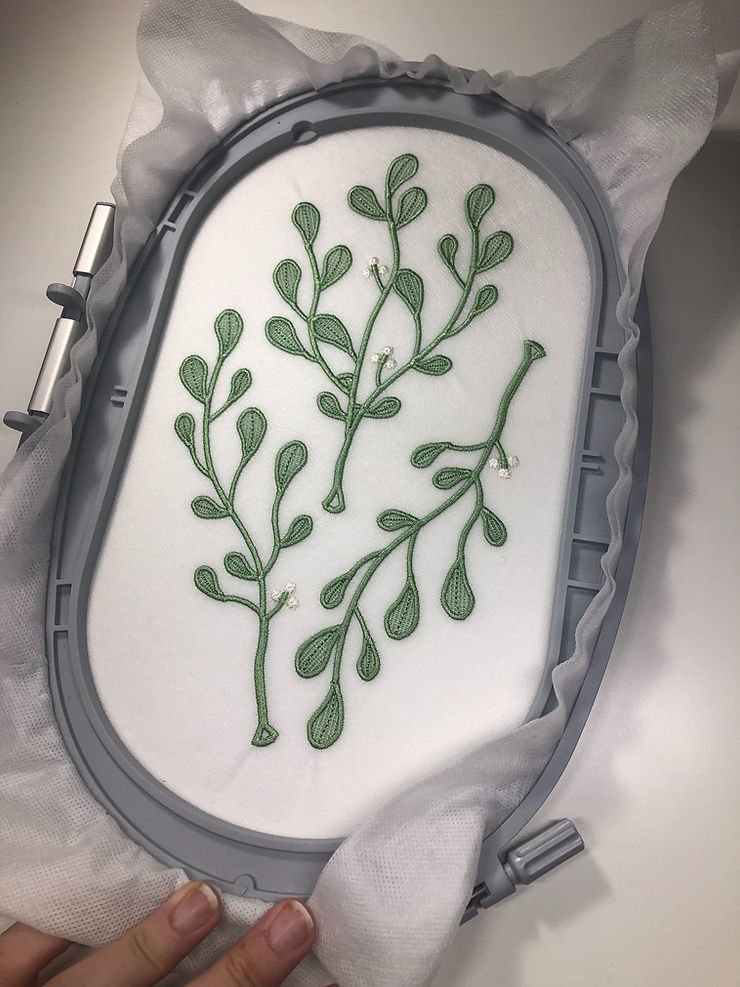
Once it was done stitching I took the hoop off the machine and unhooped my project.
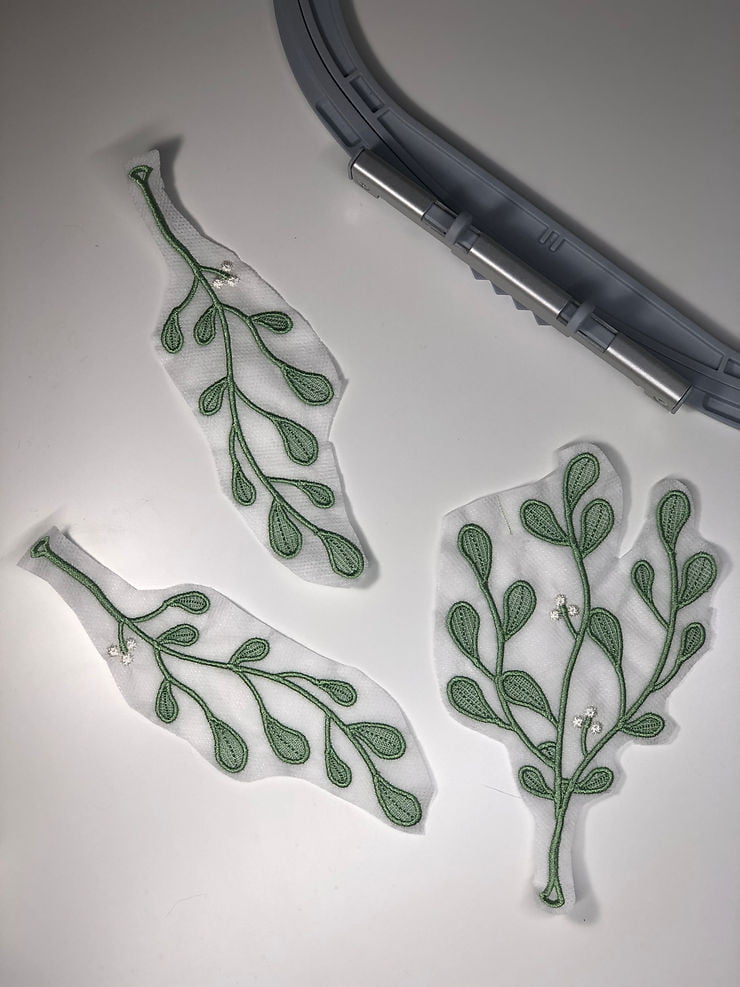
Then I trimmed away the excess Aquamesh so I could rinse it away using warm water. This is where I learned the most about this project and I’d like to pass my learning experience to you:
I washed away the Aquamesh the way I usually do; warm water, full blast, item held lightly in my palm. This didn’t work as well for the Mistletoe because it’s so delicate and easily twists on itself, something I wasn’t thinking about at all! By the second hooping I made sure the stream of water was much more delicate and I tried my best to not let it twist around itself. In the future I would rinse out my mistletoe between two pieces of screen or mesh or something that allowed the water to flow through but didn’t allow my mistletoe to twist up on itself. FSL naturally likes to twist and curl as it dries but this mistletoe takes it to the next level. Definitely be aware of this as you rinse.
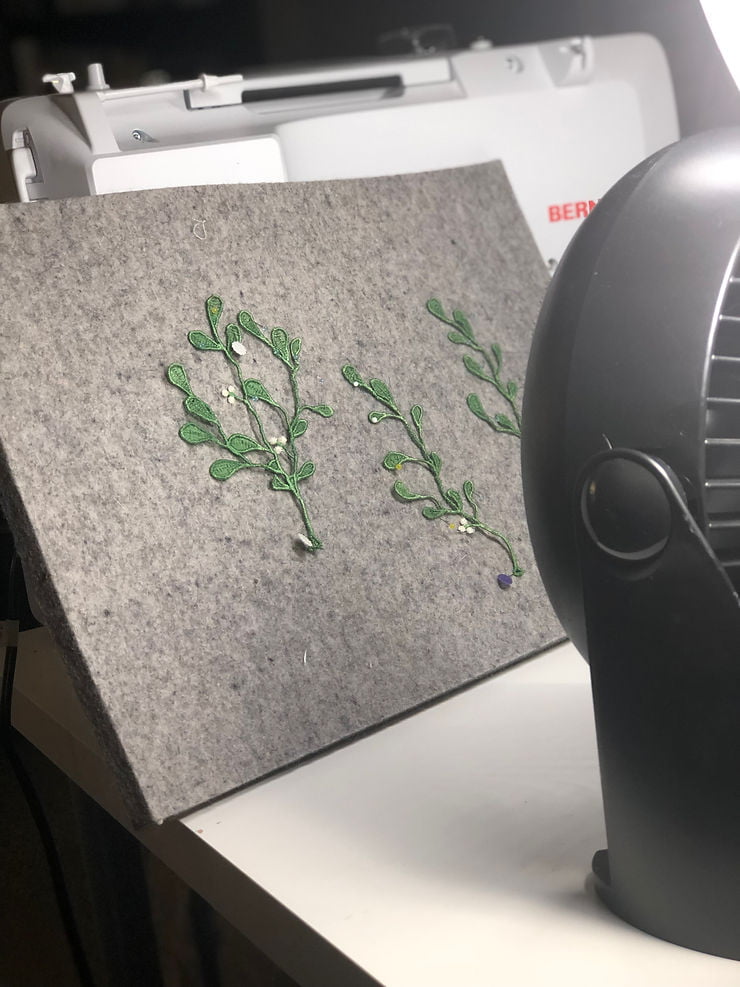
I pinned mine back into the shape on my wool pressing mat and put it in front of my fan. While I think the pinning was necessary to stop the curling and twisting as it dried, I found with the next round that the fan was not.
Even without the fan my FSL pieces dried within 15 minutes.
It took one more hooping in the oval hoop and a hopping of one piece in a medium hoop and then my mistletoe was all finished! I let everything dry over night just to be sure it was really, truly dry and then I assembled it.
The directions suggest getting green floral tape and a hook to group the mistletoe and hang it up. I sewed mine together and it worked fine, whatever you prefer!
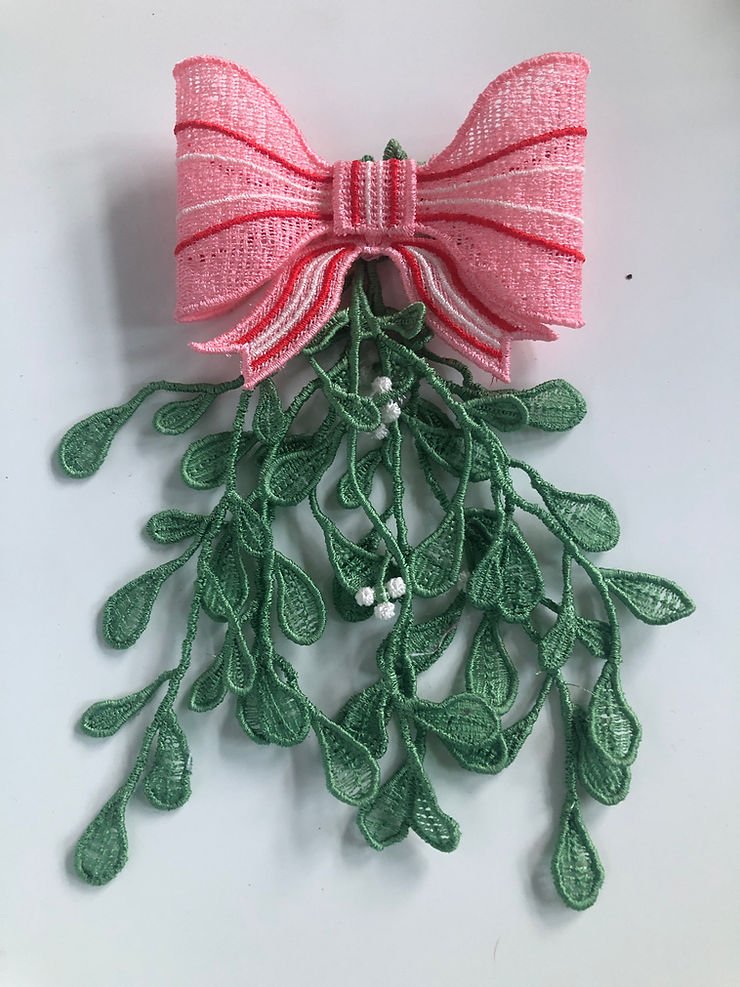
Too cute huh?
As you can see I still have some twisted bits. If this was a piece that wasn’t hanging up in the air, where people won’t be able to see that it’s a bit off, I would redo it. Fortunately mistletoe just needs to look adorable at a distance and it will have served it purpose!
I’m gonna find it a cute spot for it to live in our house for the holiday season so I can find any excuse to sneak kisses from Brad and any unwitting pets that walk underneath.
Ready to tackle your own FSL projects now?
I wanna see your FSL Mistletoe so be sure to shoot me an email or tag me on Instagram @ToughKittenCrafts.
XOXO Kate

