There are five things you must consider when choosing the perfect stabilizer for your embroidery project.
Let’s look at the two most important today (You’ll learn more about the other three at the end of this post)
What Material Are You Using?
This is truly number one on the list of what to consider when choosing your stabilizer.
This is so important that it’s the first letter, the “M”, in the The M.U.S.H.Y. Method.
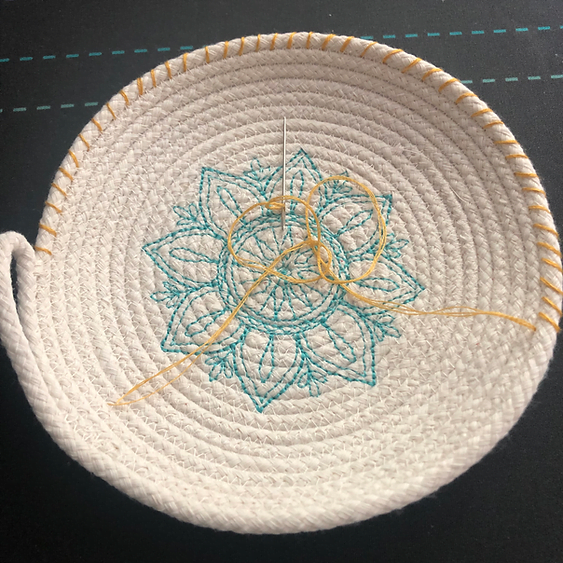
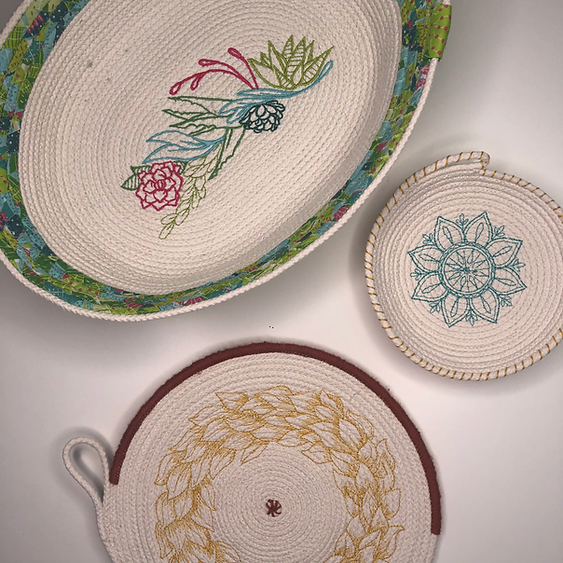
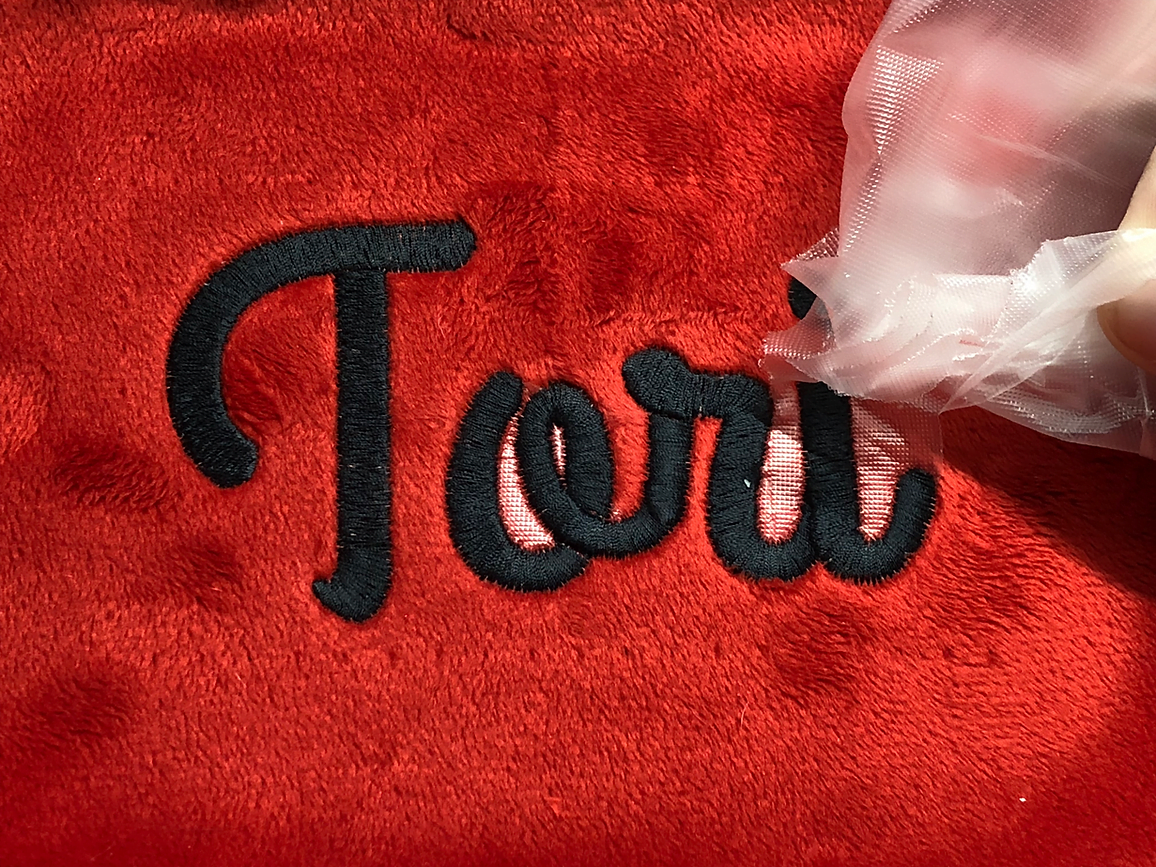
One of the main reasons there are SOOOOOO many stabilizer options is because there are SOOOOO many material choices for embroidery: Leather, cotton, linen, toilet paper, tongues of shoes, jersey, terry cloth, minky, suede…the list goes on and on.
Each material has it’s own unique properties you have to consider.
While this is not a complete list, here are a few things to take into account about your material: -Is there stretch? -How loose is the weave? -Is there a nap or pile to the fabric?
-Can it get wet? -Can you put heat to it?
-Do you need to be delicate with the fabric?
-Is it easily marred?
From here you can make some really important decisions about your stabilizer.
Some examples of what this information tells us is…
-If there is any stretch to the material we know that we have to use Cut Away, to support the embroidery and fabric as the material stretches.
-If there is a pile or nap to the fabric we will need a topper to make sure the texture doesn’t interfere with our embroidery
-If the fabric cannot be ironed then we can absolutely rule out any fusible or heat away stabilizers.
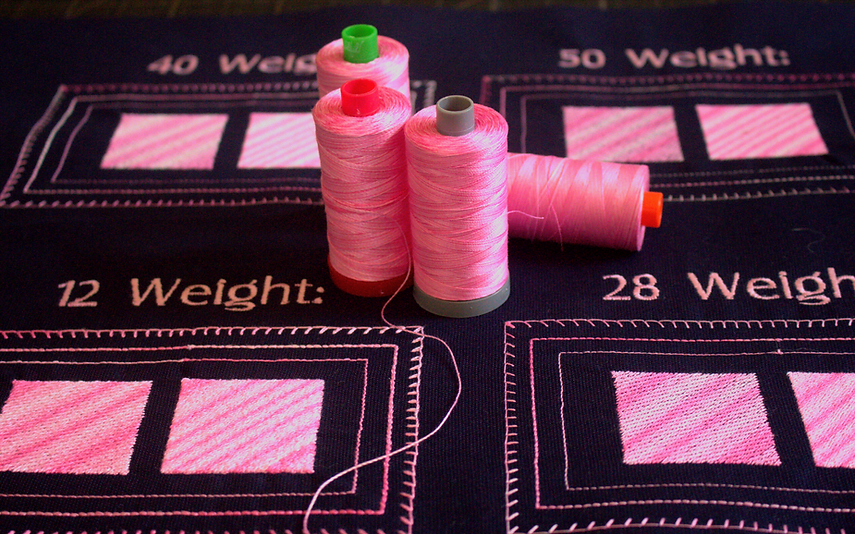
-The fabric weight can help us choose a stabilizer weight; is the fabric sheer, like an organza? Or is a heavy weight fabric like a wool?
As you learn what stabilizers work best with different materials you will instantly see your embroidery skills flourish.

Want to be empowered to use the perfect stabilizer every time? Click here to find out more.
What Do the Stitches Tell You?
It sounds like I’m asking you to read your fortune via the stitches but I promise it’s not that complex. There are two main things to think about when you look at the stitches in the design: How many stitches are there (Stitch count) and, more importantly, how are they distributed over the design (Stitch density)? Stitch count is included in every design and tells us important information about the design as a whole. For example, Red work designs will often have less stitches in them which lets us know we don’t necessarily need a lot of heavy stabilization. While stitch count is a great clue to how you should stabilize, it doesn’t tell the whole story…
Stitch density is the important second half to this question and is arguably the more important information to discern.
How dense is the stitching? Because 15, 000 stitches in a line work design is way different than 15,000 stitches in a small, dense design. For example:

This design from Tula Pink’s Imaginary Menagerie II collection has over 25,000 stitches but they are more of a line work design (no satin stitching or fill stitches) and cover a really big area at roughly 6.75″ by 12″. The stitch count would paint a different picture of this design than the stitch density would.
This is in stark contrast to the following design from the same collection:

This design is quite small at just under 3″ by 3″ and it has about half the stitches of the design above. But this design is comprised entirely of fill stitches and satin stitches making it a much denser design than the one above which means it has much different needs when it comes to stabilization.
Even if you were to stitch these designs on the same fabric with the same thread you would use wildly different stabilization methods based on the stitch density alone.
See why stitch count doesn’t give you the full picture?
People love to get caught up in stitch count and exactly how many stitches work for each stabilizer but that’s only half the picture. You can use those stitch count ranges as a starting point but you can’t hold stead fast to them.

Free classes, a supportive community and lots of fun. Click here to join.
In my new class, Stabilizer School, I teach you The M.U.S.H.Y. Method, my easy 5 step system for choosing the right embroidery every time. Today we talked a little bit about the M and S in this method but there are three other important components to choosing the absolute perfect stabilizer.
Stabilizer School is an online class that you can watch on your schedule and reference over and over again, as necessary. With Stabilizer School, you’ll never again have to ruin another embroidery project with the wrong stabilizer. I want you to be confident in your stabilizer choices and understand how to make the best stabilizer choice possible. I cover all this and more inside Stabilizer School.
Click here to learn more about Stabilizer School.