Updated: Jan 8, 2020
The tutorial portion of this post has been edited as of January 7th 2020 to reflect my most recent (less chaotic) method of making the wipes
Eco friendly and sustainable options are everywhere these days. It’s a staple of the times to try and do your part with your purchases (or lack of purchases.).
At one point I really went off the eco-deep end. I cut all my hair off, stopped coloring it, stopped wearing makeup, took my own cutlery and napkins everywhere, I even would bring food and paper items home to compost myself. Whether you call it perfectionism, anxiety, my go getter attitude….I felt that I alone could change the world and I would do whatever I had to in order to do it. It was that simple right?
I had the *kinda* the right idea but I totally lost myself in the process, which was incredibly hard and confusing. When I finally started to come to my senses, I allowed let myself to mellow out and be authentically myself, while still being concerned for the planet.
I started with being mindful of WHAT I was throwing away and asking myself if there was a reusable alternative. Since I was using makeup again, cotton rounds filled my bathroom garbage; every night I used at least one round to wipe the makeup off of my face (I was often using as many as three or four for full face of makeup days!) I knew I could sew a great reusable alternative but, unfortunately, “Reusable Makeup Wipes” STAYED on the to-sew list and never got tackled…until BERNINA sent me the answer.
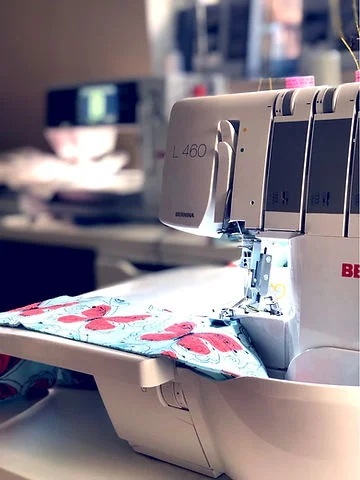
The day BERNINA sent me the L460 Overlocker, I knew this machine was going to be The Thing that saved all my eco sewing projects! I could get them done fast and with minimal fussing which is EXACTLY what I wanted for things that were made to be used and abused in the name of the planet. Don’t worry, the reusable grocery bags are coming too!
First up? Makeup wipes…and I wanted a bazillion of em. So, I sat down and went into experimentation mode! I was steadfast on only using materials that I already had around and I was determined to find the best option; that’s why I made SEVEN different prototypes!
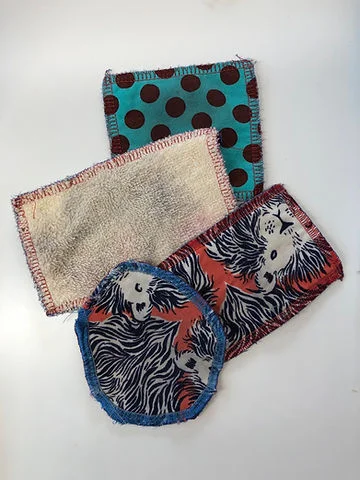
Some of the remaining early prototypes
I made one each of the following and tried them out over a week span:
-2 layers flannel
-2 layer quilting cotton
-2 layers quilting cotton with polyester batting in between
-2 layers quilting cotton with bamboo batting in between
-2 layers quilting cotton with flannel in between
-1 layer quilting cotton with 1 layer flannel
-1 layer quilting cotton with 1 layer of terry cloth
I even tried a circle which was a gross and epic failure.
I wrote down what I liked and didn’t like about each one so I could decide which version made the best makeup wipe. I wrote notes like “Not absorbent enough”, “Too abrasive” and my favorite “I just don’t love it”
By a landslide victory, my absolute favorite was 2 layers of flannel because it checked all the boxes: soft, absorbent, 2 sides of awesome to ensure ALLLLL the makeup is off and bonus points for ease in making them with upcycled flannel from shirts, baby blankets, or even just unused scraps from your sewing room.
Let me tell ya! After MONTHS of using these the hype is still there. I am still obsessed and use them every night on my face. They wash so well, they still are the best makeup wipes I have ever used and I get requests to make them all the time.
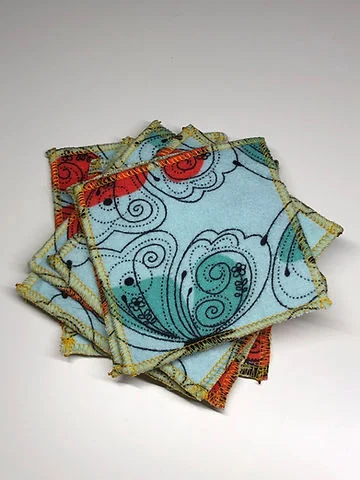
By the way…I want you to note I had literally JUST got my overlocker. This project is SIMPLE and it’s a great place to start if you’re looking for a serger project….it’s literally a rag to smear makeup off your face! Who cares if it’s misshapen, the stitches are sitting right or it frays a bit? Not me. Not your face wash.
Not to mention this is a FANTASTIC first project to get you acquainted with an overlocker because we not get to practice changing our stitches and machine settings but we also get a nice and repetitive project so we can practice, practice practice.
Okay…for real, let’s get you started….
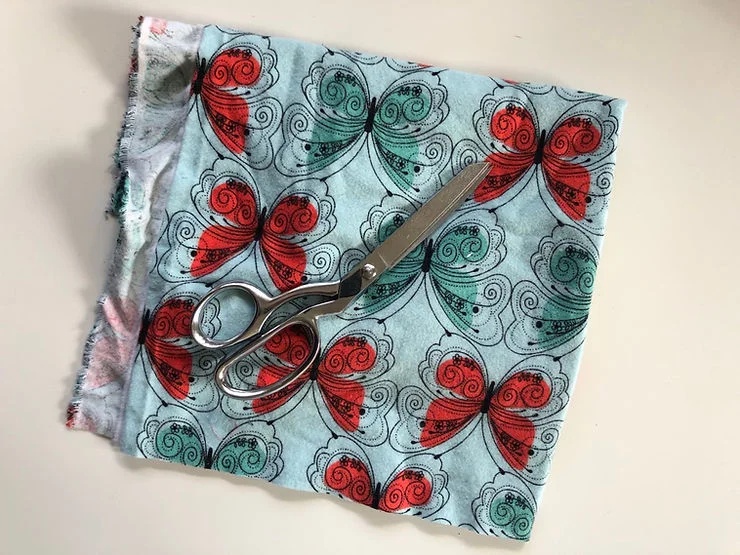
Materials (Use whatever ya got!)
-At least 3/4 yd Flannel
-Overlocker thread
-Overlocker (or “Serger” if you prefer)
-Rotary Cutter
-Cutting mat
0
Optional:
-Fray check or tapestry needle for thread ends
Updated as of 01/07/2020
Reusable Makeup Wipes
Pattern Note:
Feel free to use up random spools of thread and scraps of flannel fabric. This was a set I was making for a gift so I took care to make sure they looked a hell of a lot better than the thrown together ones I made for myself.
My instructions, like most things I do, are half-way meticulous but yield a beautiful result. You may be more meticulous, if you like, or less (I have made them VERY haphazardly and they still came out great); remember it’s not as important to make them look perfect, it’s important to make them so they last.
To prep my fabric I washed and dried it on hot, to be sure that it could handle any washing conditions going forward, and gave it a quick iron with my Laurastar.
I folded my fabric in half, selvage edges together as it is on the bolt, and smoothed it out so I could cut strips. This may mean the edges are out of sorts from one another or the selvage edges don’t meet perfectly but that’s okay, you can work around it.
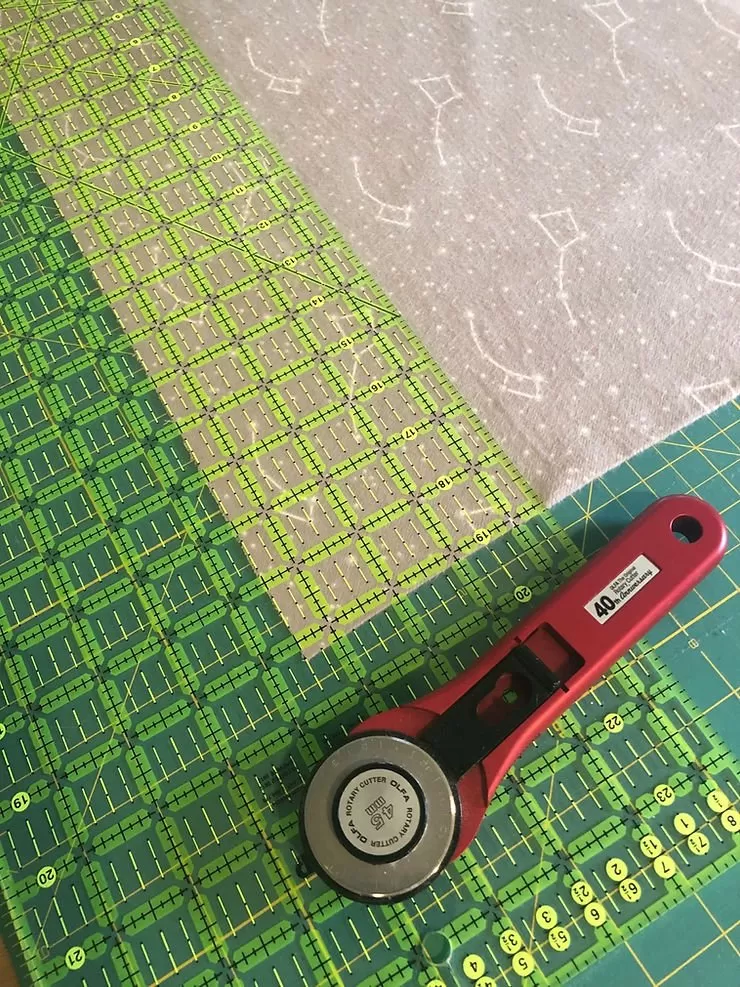
Cutting from the folded edge to the selvages, cut 4″ strips from your flannel until all the flannel is cut.
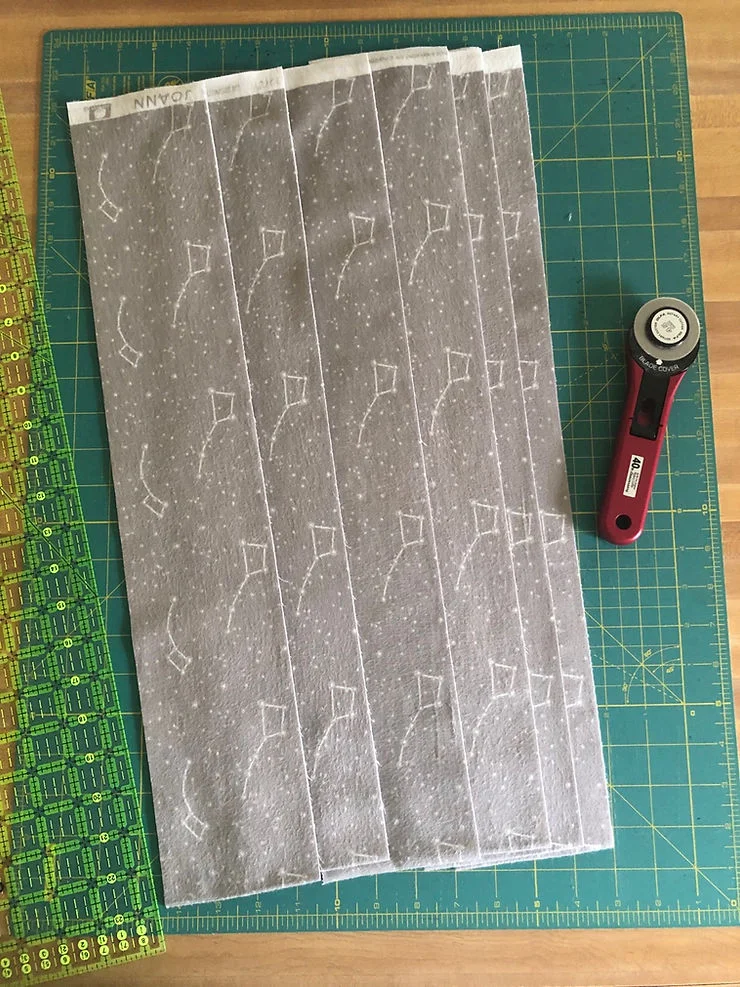
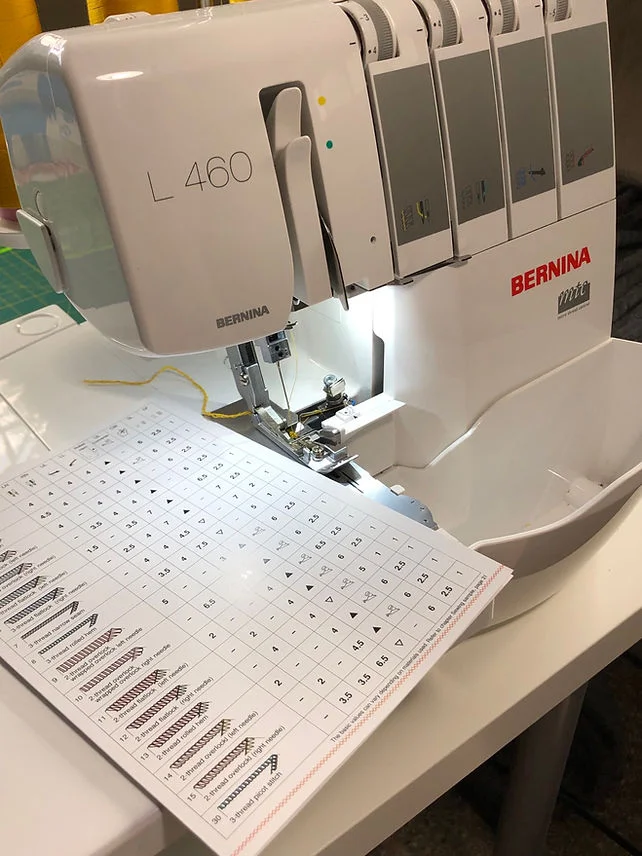
I chose the 3 thread picot stitch for this project because I thought it was pretty and knew it could hold up to the wear and tear these wipes will be put through. Choose which ever you think looks best but it would be best to keep it narrow and strong.
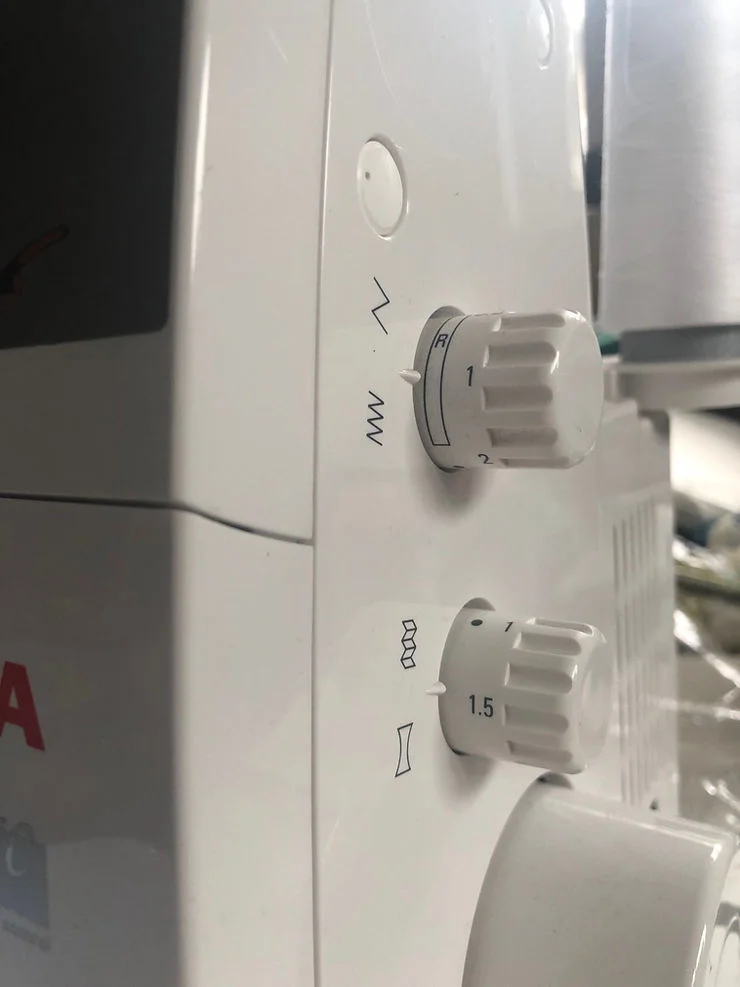
With the picot stitch on the flannel I found that I had to decrease my stitch length a little to get it to look how I liked and to keep the edges from appearing frayed. Don’t be afraid to play with yours to get a look you love, I did it on my strips while I stitched along because meh…why not? (If that last sentence made you break out in hives, then please ignore it and imagine I said only use test strips for this. Deal?)
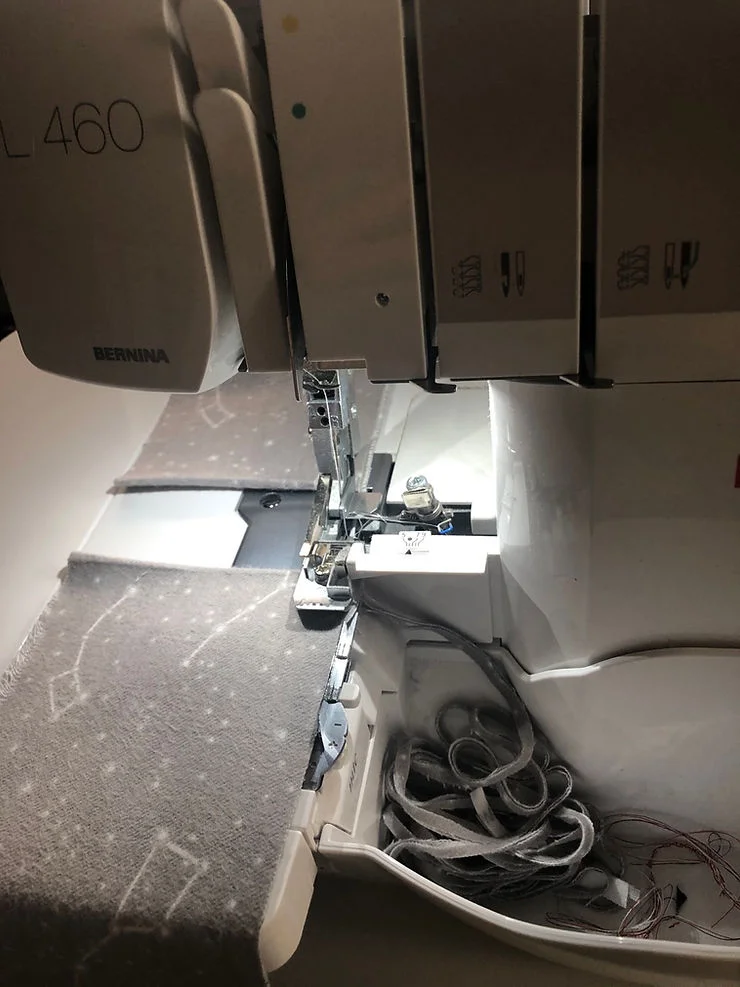
Chain serge your flannel strips.
First serge down one side of all the strips, then the other.
Keep in mind that the picot stitch does have a right and wrong side (as pictured below) so you may want to be very cognizant of weather or not you are on the right side or wrong side as you stitch.
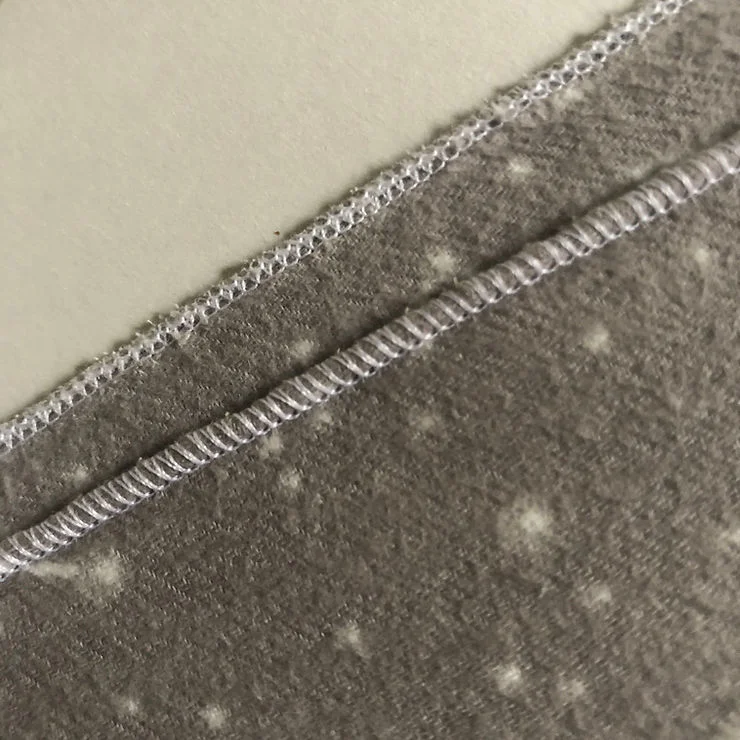
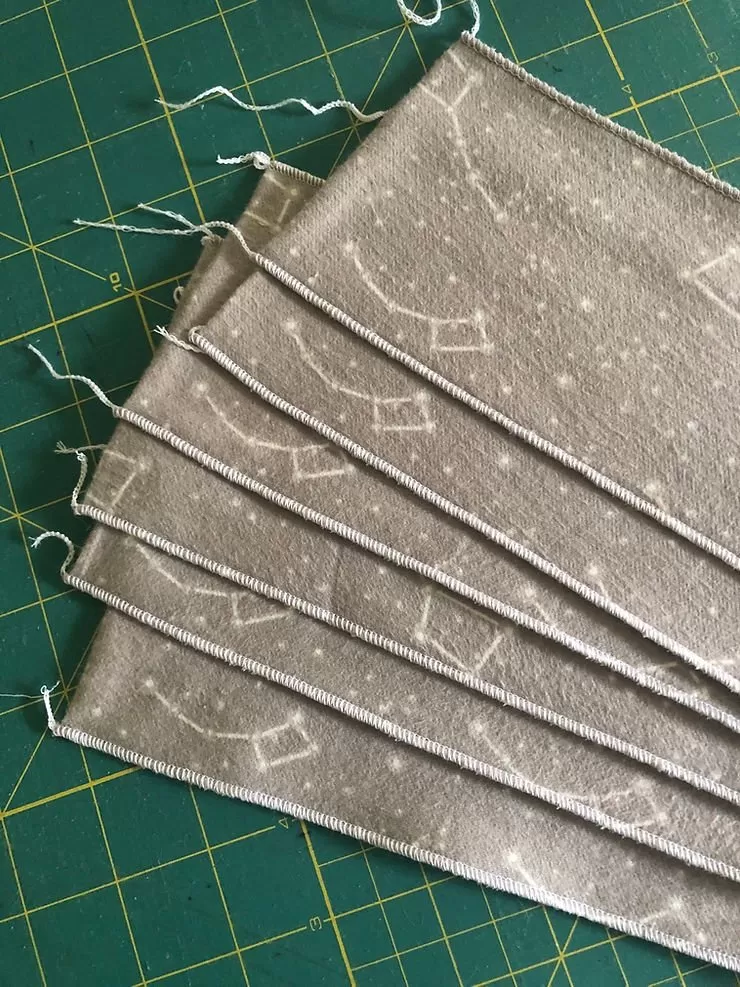
You can see the top strip is where I tested the stitch length to get it right.
Once all the strips are serged I took them to my cutting mat.
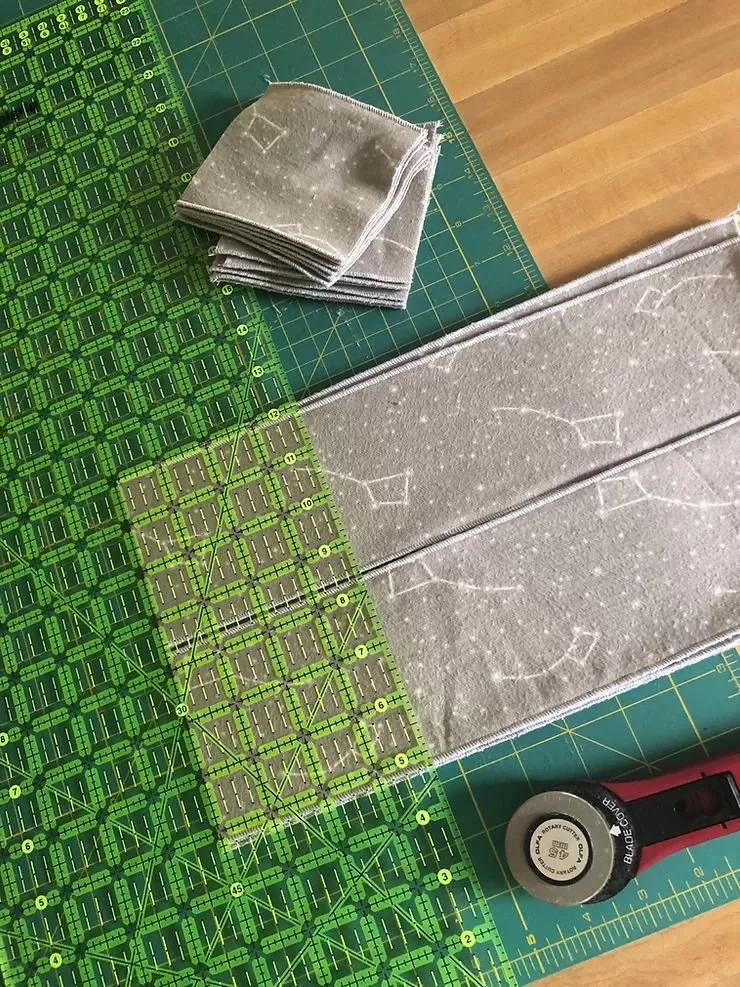
I cut my strips at 4″ each. To ensure it took as few cuts as possible, I layered my strips on top of one another (3 strips deep, 4 was too high).
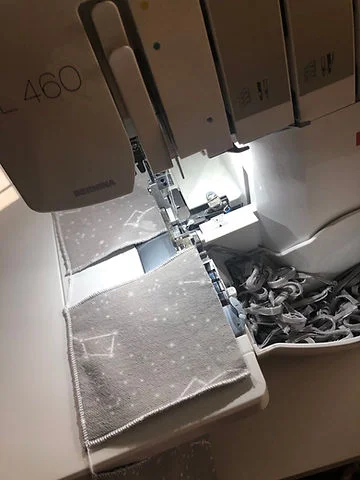
Now we chain serge the other two sides. Once again I did it all in an assembly line sewing manner; all down one side, then flip and all down the other, keeping the “right sides” right.
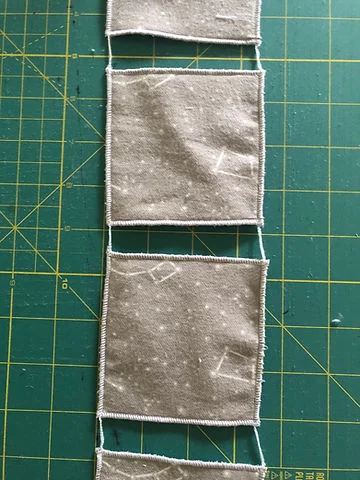
At this point I clipped them all free of one another.
If you are going to finish them as I did, I recommend cutting the tails close the first time so you don’t have to re-trim anything (a giant waste of time)
If you are going to finish them with fray check or another method then you may go ahead at this point.
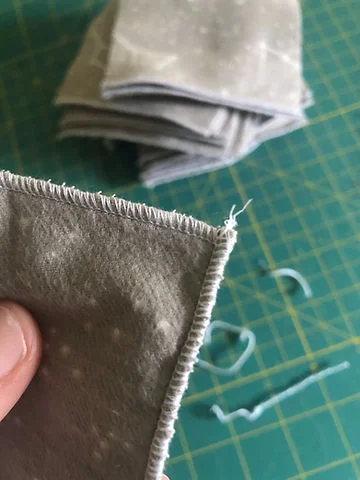
Once snipped closely (this is even a little too much thread) I took a lighter to the edges to melt the polyester thread. Polyester thread is the key, DO NOT try this with cotton.
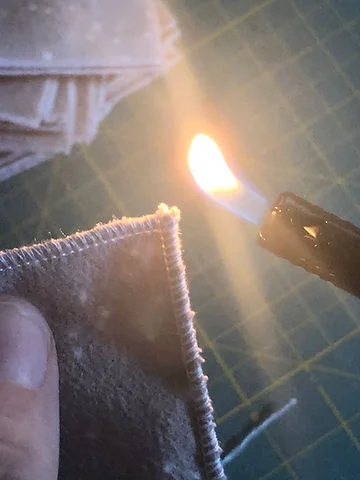
All you have to do is get the heat of the flame close to the threads and they will start to go back on themselves. You’ll see that it doesn’t take much and you’ll get the hang of it after a few corners.
Don’t panic if you get a singed corner, it will wash right out.
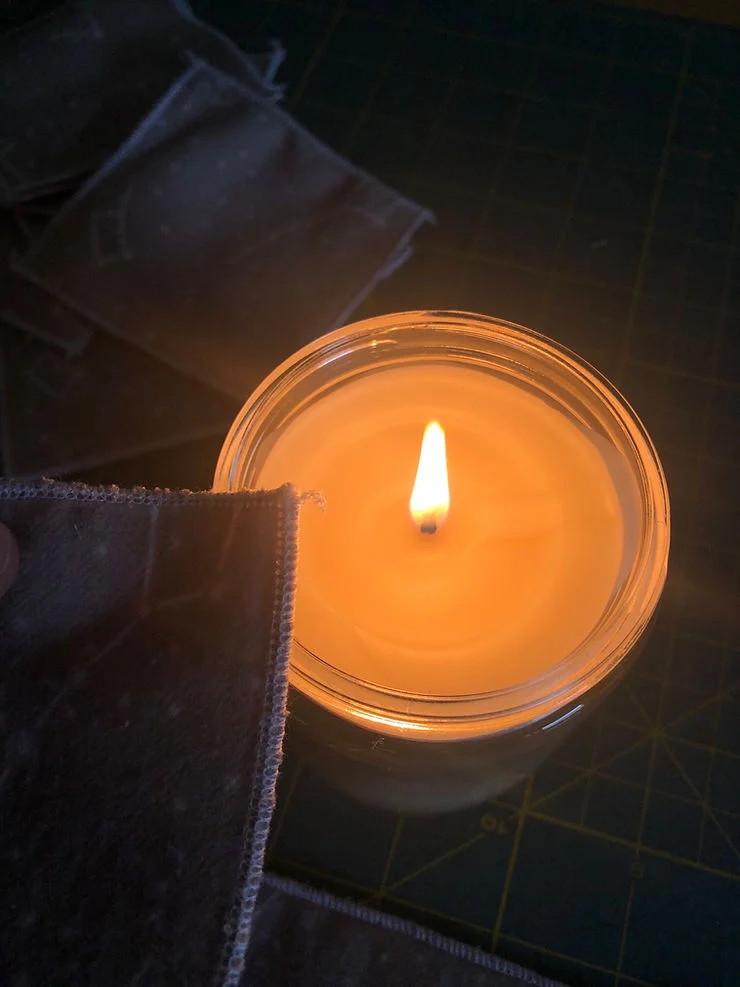
You may also use a candle, if you prefer, but mind the wax.
Though I must say this method is easiest with a new candle or one that isn’t jarred.
You can definitely make these on a sewing machine as well, you just have to cut them all down to 4″ and do an overlock stitch over the edge. It’ll take a little longer but I promise they are worth it!
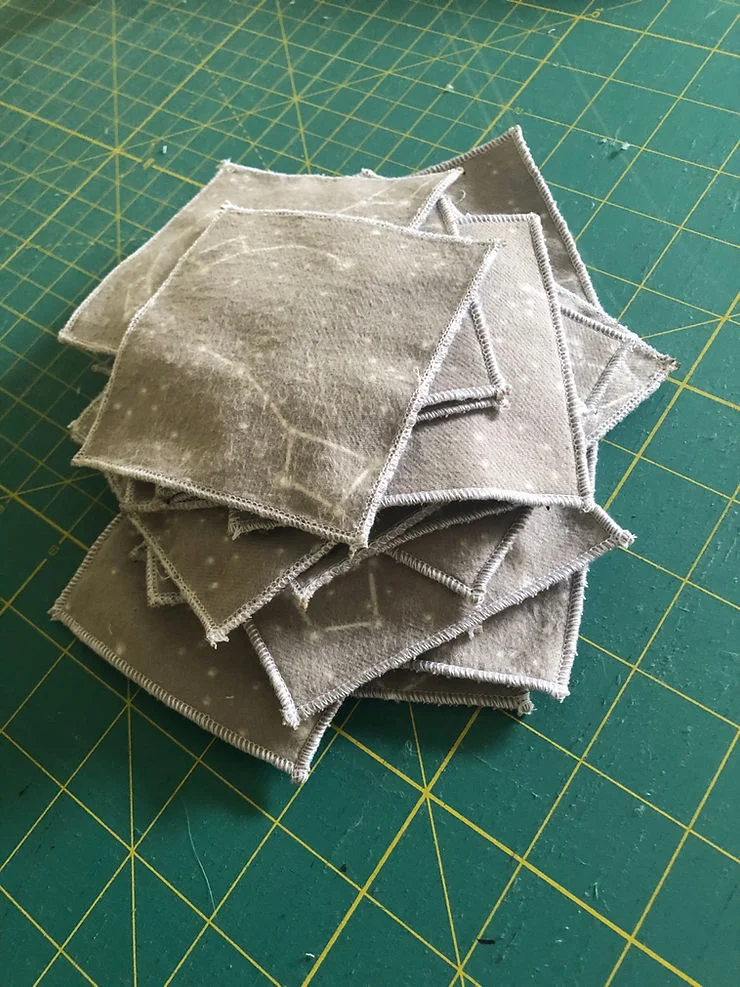
I would recommend washing them before you first use them, since they do go on your face. To clean them I throw em in a mesh bag to keep them all together (a pillow case would work too) and wash/dry like normal.
Wash them how you prefer to wash anything that will go directly on your face.
That feels like a personal choice kinda thing.
Next up are little drawstring bags to put them in so I don’t have to worry about where the clean and dirty ones are when I travel.
I hope you have a blast making and using your reusable makeup wipes! I am obsessed with mine.
Any questions about the overlocker?
What sort of reusable items do you want to see made here on the blog?
Comment and let me know!
xoxo Kate


