Scrunchies are back y’all. They are back in a big way.
I made some the other day with Jade, my step daughter, and it…was…awesome.
Oh no. It’s not that I’m not super psyched about the scrunchies being back (cutting off all my hair ensured that they’re useless for me), it’s purely about making them. We almost made almost 40!
Jade’s scrunchie mob! She was thrilled to give them to her mom and grandma.
I am always looking for the perfect hands on project to do with Jade.
The Perfect Project needs to be easy, show progress quickly, and of course I want it to take up a good chunk of time so I can keep her happy and busy for as long as possible. Please, I pray, keep her busy and happy.
However, everything falls short. Everything.
It’s simply how it goes. Jade does not have a long attention span for handmade projects. It’s just not what keeps her attention at this point.
Scrunchies did a darn good job, though!
It would be perfect for kids that are a little older or children who have been taught to run the sewing machine themselves.
Unfortunately, Jade is a little too young and completely unfamiliar with sewing machines, so as much as I was trying to get her involved in every step there were quite a few things she just couldn’t do.
It didn’t stop us having a great time though! This project was so much fun for both of us but I quickly realized that Jade and I had the same favorite part and it had nothing to do with the scrunchies, really.
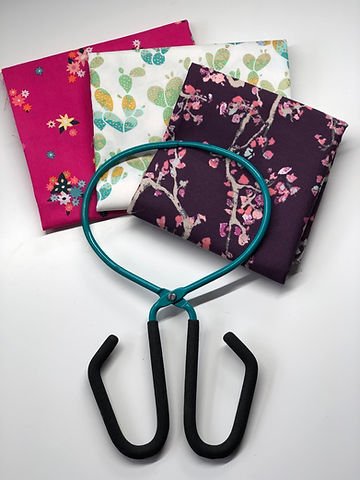
Enter the EZ Point and Turner from Sue O’Very Designs.
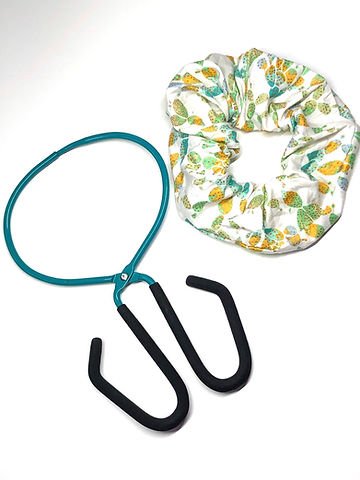
Instructions below for this cute Art Gallery Fabrics scrunchie
When it was time to turn our scrunchie tubes right side out, it hit me that my friend Sue O’Very had sent her new tube turning tool for me to try. Maybe we should use that?
Handing the tool and the tube to Jade, I showed her how to do it and after a little trial and error she was off. In the blink of an eye all of our scrunchies were turned and Jade was frowning at me because we didn’t have more for her to do.
She didn’t want more scrunchies. She wanted more reasons to use the tool!
I had Jade turning the tubes wrong side out, right side out, wrong side out, right side out, just so she could do her favorite activity of the day: Use the EZ Point and Turner!
Eventually we did get the scrunchies finished (and on Jade’s wrist) and, yes, she did lose total interest in the project (just shy of the finish line). Jade still sat with the EZ Point & Turner in her hand as we talked and I finished the scrunchies. I was shocked she didn’t outright ask for another thing to turn, as I watched her eyes scan the sewing room while she clacked the tool open and closed.
She wasn’t alone though. From moment one I was totally obsessed.
I was shocked that it worked as well as Sue’s video had shown and I realized I was a fool to let this tool sit in my sewing room without trying it sooner.
This is now a top drawer tool.
That’s right! Right next to my marking chalk and seam ripper, in with all the most used items. The EZ Point and Turner deserves it!
First off, have you watched the video I just mentioned? It. Is. Awesome. There are virtually a zillion ways to use the tool. Maybe even two zillion.
Don’t believe me? Watch Sue, Mother Of Notions (too soon Game of Thrones fans?), do what she does best in the following video. Sue’s notion videos are always a great way to check out a notion before you add it to your collection.
You will definitely be seeing this tool in more and more of my tutorials and projects. I will be making the In The Hoop EZ Point and Turner Pouch as well so keep an eye out on the blog and on my IG for content about that.
Alright, you ready to make some scrunchies!?
I am telling you they really are great fun to make! They’d be fantastic party favors, make and take projects, rainy day projects with the kids….you name it. They sew up so fast and are too cute when done.
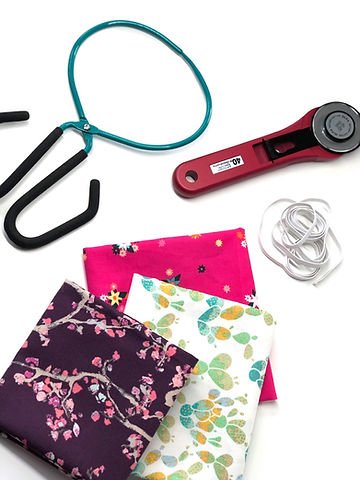
Gather up your goodies and let’s sew some scrunchies
Materials:
-Thread
-Rotary Cutter
-Fabric scraps (4.5″x24″ strip per scrunchie)
-1/4″ Braid elastic (10″ length per scrunchie)
-EZ Point and Turner
-Sewing machine (I’ll be using my B 880 PLUS cause I love it so dang much)
Directions:
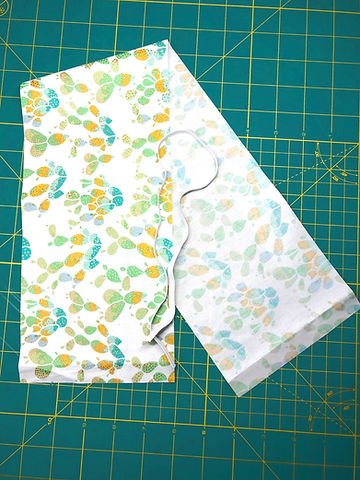
Cut your fabric into a 4.5″x24″ strip.
As you make more scrunchies you can play with the dimensions. I made 3.5″ X 18″ scrunchies with Jade and definitely wished they were longer for more scrunch affect. Hence making it 24″ for the one pictured here. Try it out! Let me know!
Cut your elastic to a 10″ length. This works well for a double wrap on thick hair; Jade has so so so much hair and this was perfect. If you are making this for people with thinner hair go down to 8″ or 6″, want it to wrap a third time? Go to 11″ or 12″. I tested out my length by safety pinning the ends together to make a circle and trying it out, try this method if you are unsure about length.
Press your fabric strip right sides together, length wise.
Let’s make that tube shall we?
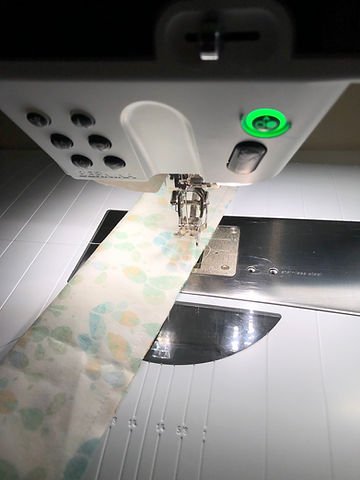
Sew the long seam only.
I used a 1/4″ seam allowance cause I’m lazy and in love with my 57D foot. If you feel better with a bigger seam allowance, go for it! Just be sure you make your tube a little wider when you cut your fabric in step one.
You will be sewing the raw edges opposite the fold for the full length of the fabric, leaving the top and bottom open.
Best part! Use your EZ Point and Turner tool to turn your fabric tube right side out.
So simple. It’s great.
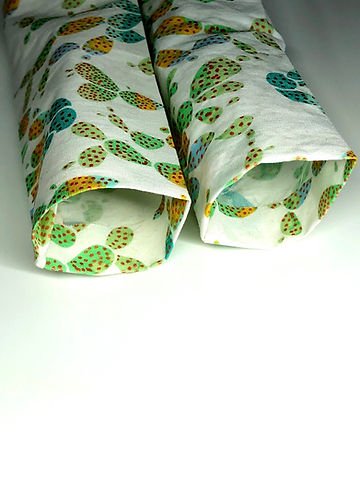
Tuck in a 1/4″-1/2″ of the raw edges, into the tube and press.
This is to ensure that when we sew it all up, we only have pretty finished edges showing.
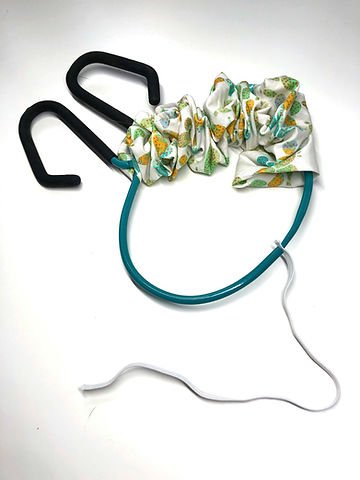
Watch Sue’s video to see how this awesome feat is pulled off
Using the EZ Point and Turner, thread elastic into tube.
Obsessed. I didn’t do this step with Jade and I think it made this tool indespensible once I tried it.
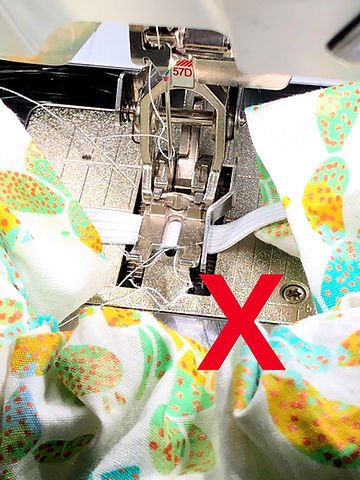
Don’t go this way! A 90 degree turn gave me my best results.
Secure the ends of the elastic together with the sewing machine.
I personally think it’s easier if you run the length of the elastic, not across it. I just sew back and forth and back and forth until I’m convinced a child can’t snap it easily.
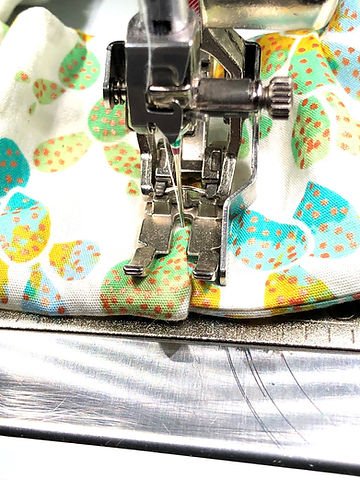
No hand sewing for me on a kid’s hair accessory.
Tuck one end of the tube into the other.
Close your tube by sewing the ends together as desired.
Here “as desired” means: If you wanna do a better job, go for it. I ran my sewing machine over the seams which is to say the scrunchie is forever affixed to the elastic in one spot and flattened. This finish doesn’t bother me one however, if it will bother you, you may sew it by hand.
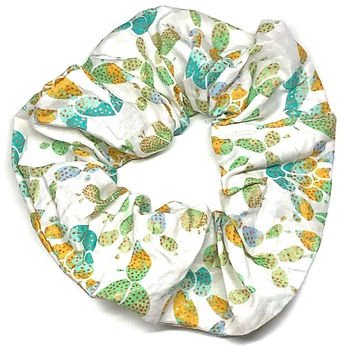
Tada! You’re done! Wasn’t that easy and fun? They are like little sewing potato chips: it’s hard to have just one.
I think the embellishing options are endless, too! Pom poms, fringe, rick rack! I think Jade would like this even more if she drew on the fabric with markers, effectively making her own fabric design for the scrunchies.
And how about the EZ Point and Turner, huh!? You will be seeing oh so much more of this tool; I love it sew.
Okay. I have started pulling out bad sewing puns which is my cue to hit the hay ( I am writing this until the wee hours of the morning) and let you get on with your day.
Let me know what you think about the EZ Point and Turner and click here to get one of your own. Show off your awesome scrunchie pics at #CreativeWomenRock!
Give me suggestions on how to keep my sweet little Jade busy on the weekends we have her.
xoxo Kate

