Are you a Machine Embroidery Beginner? Looking to learn the machine embroidery basics and wanting someone to walk you through how to be fearless with machine embroidery?
This blog post is perfect for you, my frustrated friend!
My name is Kate and I help guide sewists from frustrated to fearless with machine embroidery. So let’s discuss the absolute basics of how to get started.
The basic supplies you will need:
- Embroidery Machine
- Embroidery Designs
- Thread
- Stabilizers
- Embroidery Tools
Let’s break it down to the basics for each category.
Embroidery Machine
The most important thing you need is an embroidery machine! Not every sewing machine can do machine embroidery so you will need to talk to your local machine dealer to talk about which model embroidery machine is right for you.

You may choose and embroidery only machine or a sewing/embroidery combo machine. This is up to you and how you want to use your machine. Another type of embroidery only is a multi-needle machine; these machines are professional grade embroidery machines that are made to embroider an array of items (Hats, clothes, bags, etc) very quickly, which makes them popular among hobbyists.
When choosing your embroidery machine you should consider a few things:
- Do you want/need sewing and embroidery capabilities in the machine?
- What kind of sewing do you like to do?
- What kind of items do you want to embroider?
- How big of a machine do you want?
- What capabilities does the machine have to make design placement easier?
- What capabilities does the machine have to make embroidery easier?
Pro Tip: It’s easy to get caught up in the bells and whistles a machine has because it sounds exciting in a dealership or online. My biggest tip when face to face at a dealership is to ask your salesperson “How will that help me embroider _______ better?” In the blank you will add quilt blocks, t shirts, pillows, whatever it is you want to embroider. Because in the end, that’s all that really matters!
Another great way to know about the best features of a machine is to hop into Facebook groups for that machine brand or for an embroidery brand and ask what their favorite feature of their embroidery machine is or why they like it. Of course, you’ll get a bazillion opinions and maybe even a couple odd ball answers, but it can help you get a clearer picture of different machines and their functions.
Embroidery Designs
Embroidery designs can be confusing when you first start embroidery: Where do I get them, can I just use any “vector” file, what happens if it’s too big, how do I make my own?
So, let’s cover some of the embroidery designs basics!

First off, you need designs that have been specifically created for machine embroidery. You can buy these from dozens of trusted digitizing websites. Here are some websites you can trust for quality digitized designs:
This list is by no means exhaustive as there are many other sites with quality designs.
These are the sites I know well, have used personally, and have had great experiences with. Be careful when using designs from random creators online as they aren’t always digitized correctly and can cause more headaches than they are worth.
You can purchase your designs online and download them to your computer or some companies like OESD and Scissortail Stitches give you the option to have a USB stick or CD sent to you. I like to download my designs and keep them all filed away on my computer.
When choosing and downloading designs, be sure you’re using the right file type for your machine; each machine reads a certain embroidery file type best. You can find out what file type you need from your dealer when you purchase your machine, or you can google what file type you need.
As I said before you need designs that are specifically digitized for machine embroidery; using photos, gifs, or vector images with your machine will not work. If you want to embroider a specific image, you can have designs digitized for you by companies that provide that service, or you can get embroidery digitizing software to create designs yourself. I use BERNINA embroidery software and highly recommend it, they have two different software types depending on the type of digitizing you’d like to do.
Embroidery Thread
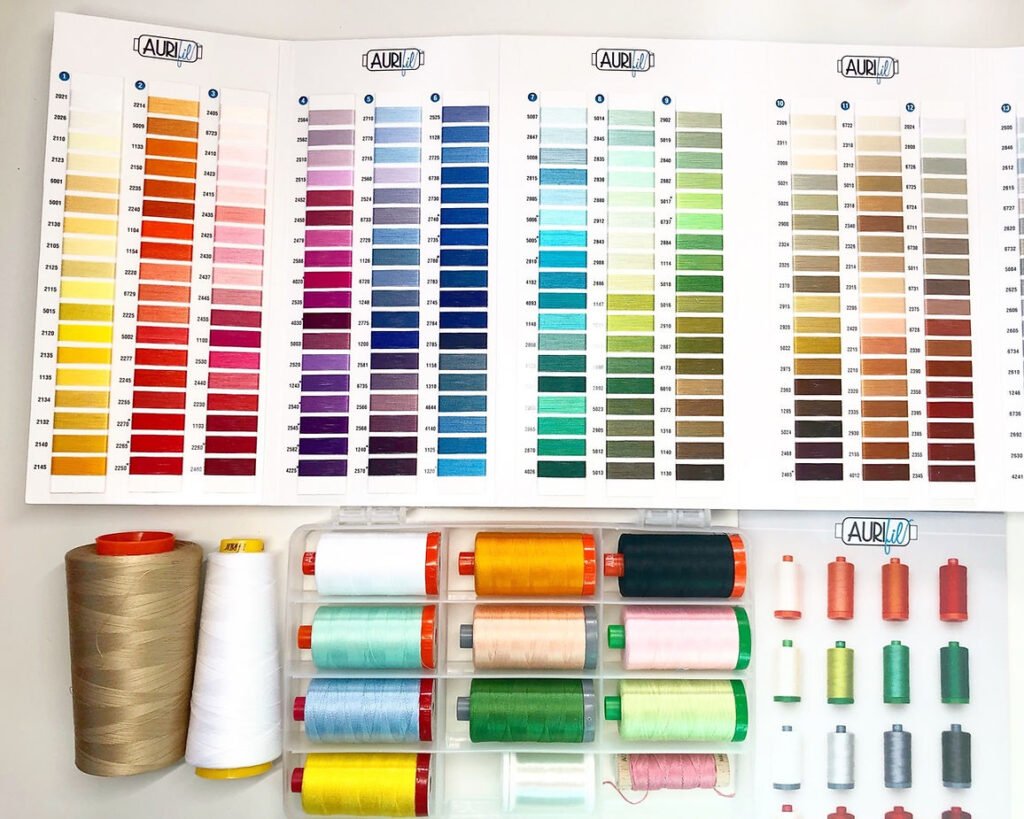
Most embroidery thread that you will find in quilt shops and fabric stores (where many of us got our machines and get our supplies) is polyester thread but don’t let that stop you from trying other threads.

My most used embroidery thread is a tie between Aurifil cotton thread and Isacord polyester embroidery thread. Both do an incredible job for machine embroidery on a variety of materials.
Polyester is a popular sewing and embroidery thread because it’s strong, affordable and available in a wide array of colors. Many users are drawn to polyester because of the sheen of the thread. Don’t use polyester on any threads that will be subjected to extreme heat like potholders and hot pads as the thread can shrink/melt.
Cotton thread is a great choice for machine embroidery. Many people are shocked to hear I love to use cotton thread of all weights for machine embroidery. Be sure to use cotton on any projects that will be subjected to extreme heat like potholders and hot pads.
Rayon thread is popular for machine embroidery as well, but I never recommend it. I have found it can cause a lot of issues for certain machines and is generally not worth the fuss.
Embroidery bobbin thread is useful when trying to get perfect tension. My favorite thread is Expert Embroidery thread from OESD but you should try different kinds to see what works best with your machine and set up.
Pro Tip: Thread can “go bad” after being exposed to extreme heat/cold or from aging; so you may have embroidery thread you inherited from a friend or parent and lemme tell ya it’ll be a total crap shoot on whether it actually works for you. If you start to notice fraying, breakage or tension issues that can’t be fixed by changing the needle or adjusting the machine then it may be time to throw out the old thread and get some new stuff.
Embroidery Stabilizers
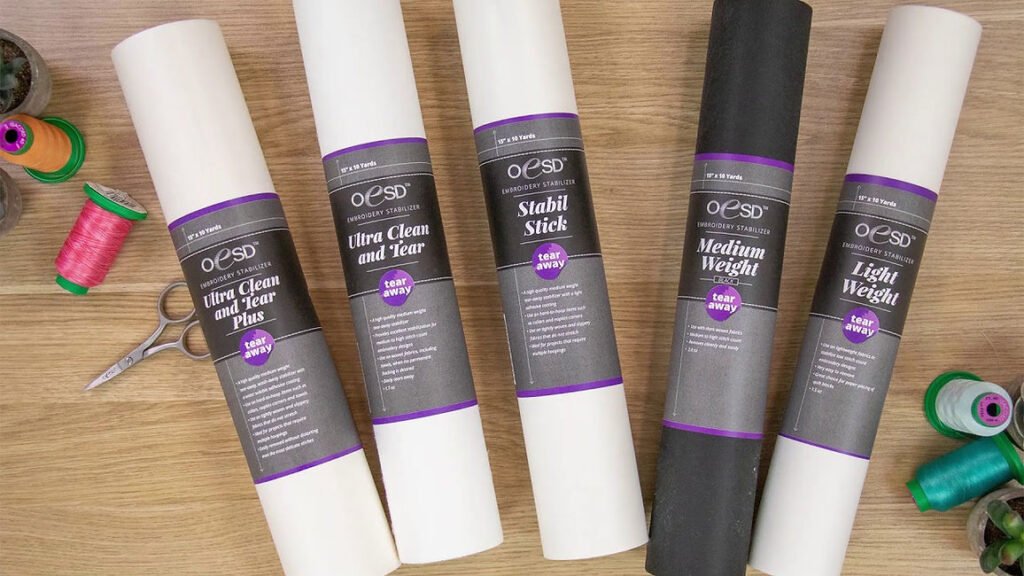
Stabilizers are one of the most confusing yet most important aspects of machine embroidery. Stabilizer is the foundation of machine embroidery; it supports stitches and fab

ric as the embroidery stitches out. Choosing the right embroidery stabilizer is paramount to perfect machine embroidery.
Choosing the right stabilizers will effect the quality of the stitchout more than any one other thing you can do (except maybe hooping) so it’s imparative to learn about what stabilizers are, how they work and why the category of stabilizer alone will give you a ton of useful information.
Stabilizer comes in three weights: Light, Medium or Heavy.
We choose the weights based on the design, how many stitches, the fabric and more.
Stabilizer comes in many types: Backing, topper, fusible and adhesive.
We choose the type of stabilizer we need based on the project, the material and more.
Stabilizer also comes four categories, the names of these categories are incredibly useful in letting us know how to use the stabilizer, when to use it and often how to remove it after machine embroidery.
The categories are: Cut Away, Tear Away, Wash Away and Specialty.
Click here to check out my Machine Embroidery Stabilizer Basics blog post for more information on stabilizers.
Pro Tip: Don’t want to spend time researching stabilizers on your own? Sick of messed up embroidery and inconsistent results? My class Stabilizer School walks through all the information you need to understand stabilizers and choose the perfect stabilizer for each project, like a professional embroiderer! This online, on demand class will walk you through each category, weight and type of stabilizer and will even teach you what each individual stabilizer is used for. I’ll even teach you my MUSHY method, the system I use to choose the perfection stabilizer for any project.
Stop the stabilizer stress and enroll in Stabilizer School today.
Click here to learn more about Stabilizer School
Embroidery Tools
I am adamantly against buying up a ton of stabilizers, notions, and designs before you are comfortable with machine embroidery because, more often than not, I see it end in overwhelm. I have noticed a trend where sewists buy up all the wrong items, get annoyed they spent money on the wrong stuff and put embroidery on the back burner as a result. While I love diving into a hobby head (and wallet) first, I strongly advise against any embroidery spending sprees when you’re first getting started with the hobby. A more beginner friendly method to acquiring the item you need is to buy supplies per project, which should cut the overwhelm down.

Having said that, there are some supplies you should definitely have on hand from the get to go make machine embroidery more fun from the jump:
- 75/11 Embroidery Needles
- Various spools of embroidery thread
- Bobbin thread
- Basting Spray
- Embroidery Scissors
- USB Stick
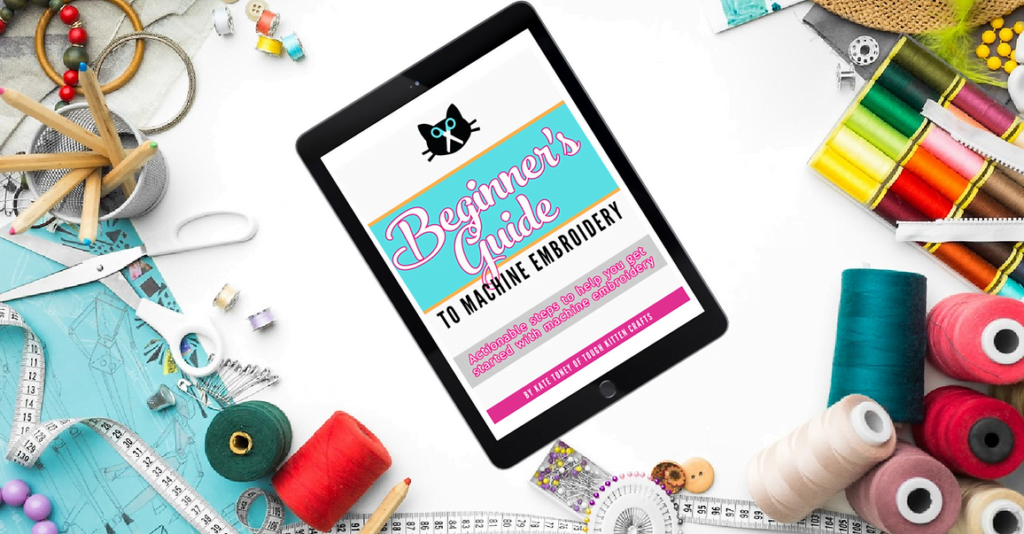
Looking for more information on what to get as a newbie? Check out my free download Beginner’s Guide to Machine Embroidery. This guide has three handy steps to help you get embroidering today! It also contains a checklist to help you perfectly plan your next project!

Click here to download your free guide.
Next Steps
Well that’s it! Now you’re ready to embroider everything!
…
Just kidding.
I know I have a lot more work to do to help you feel fearless with machine embroidery!
The good new is I have a brand new course that was designed specifically to do that.

Click here to join Foundations of Machine Embroidery waitlist
Foundations of Machine Embroidery is my new course coming out July 13th!
This class is going to guide you through foundational knowledge of machine embroidery to transform your understanding of and help you become confident in machine embroidery. Not only will I walk you through 6 awesome skill building machine embroidery projects but I will also help you navigate the tools, notions and skills you need to become a confident and excited machine embroiderer.
Who this class is for:
- Absolute beginners looking to dive into machine embroidery for the first time
- Anyone who is sick of winging it through every embroidery project
- Embroiderers of all levels who feel like they can’t get consistent results in their embroidery projects
- Self taught embroiderers who know they are missing some foundational knowledge of the craft
- Embroiderers of all skill levels who love to learn abou their hobbies in an online format where they can watch their class on repeat and on their own time
Can’t wait to hear more about Foundations of Machine Embroidery? Hop on my waitlist so you don’t miss out on more info or the early bird pricing!
Early bird pricing will only be availble to my waitlist friends so be sure you get on that list.
Click here to join the Foundations of Machine Embroidery waitlist!
What questions do you want answered about machine embroidery?
How can I better help you get fearless with machine embroidery?


7 Responses
I’ve read your blog. Honestly I’ve never read this type of blog before. Appreciate your work and will love to read your incoming articles too.
This was such a useful introduction to the machine embroidery basics. Kate does a fantastic job of clearly explaining the essential supplies and tools required. Thanks for the great primer!
The blog post is so wonderful and is a perfect guide for anyone dipping their toes into the creative world of embroidery. We especially loved the clear and concise breakdown of the basics; it covers everything a beginner needs to know, from essential supplies to fundamental techniques.
I can’t register for your newsletter or download the beginners guide.
Great guide for beginners! Your breakdown of machine embroidery basics is so helpful, especially for those just starting out. Thanks for making it easy to understand!
This is excellent; maybe next time, you could delve into more idea.
This is such a valuable resource. Thank you for your dedication and hard work! Insulation Contractor Coquitlam, BC