

In part one of this series of common machine embroidery mistakes let’s cover three of the most prevalent machine embroidery issues and how we can fix them to have better machine embroidery.
 1")
 2")
 3")
Puckering.
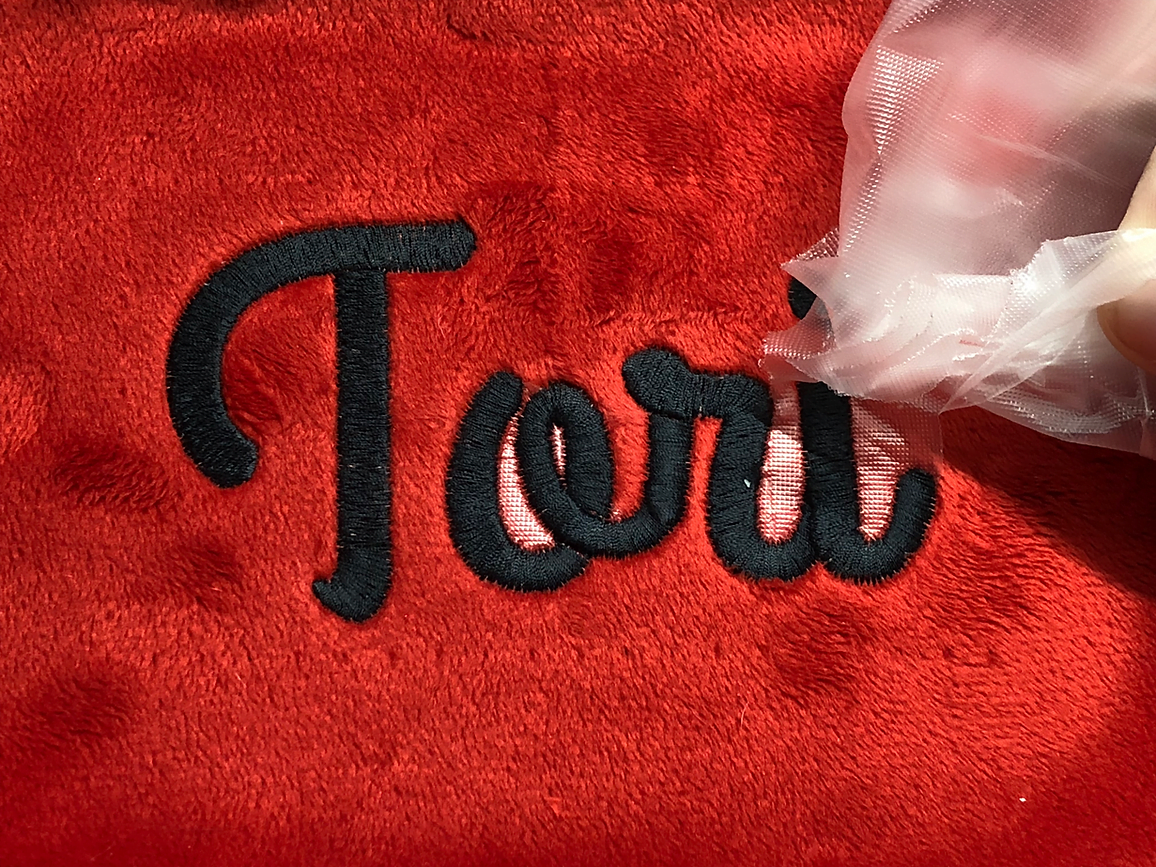
Puckering is when the fabric around your embroidery bubbles up and puckers, making the whole thing look like a wrinkled, bubbly mess. There are two reasons your embroidery is puckering and good news is they are both super easy to fix!
 4")
See how the design and the fabric ripple? That’s called puckering.
The Problem: The fabric wasn’t hooped correctly.
If you have tugged on your fabric or pulled it out of shape in any way while hooping, then you could get puckers in your embroidery. If you have been around Tough Kitten Crafts for anytime at all you’ll know that I am adamant against pulling on your fabric while you hoop it. But you also have to be careful while floating your fabric! Just because you aren’t hooping that fabric doesn’t mean you can’t stretch it and get bad puckers.
The Fix: Learn proper hooping technique
This is such an easy fix, you just have to get the hang of the proper hooping technique and PLEASE don’t tug on your fabric to get it flat!
You can click here to check out my blog post about 4 Must Know Machine Embroidery Hooping Techniques.
I also have a quick video that can help you see the right way to hoop
If you know you hooped correctly then we can go to the next culprit…
The Problem: The fabric and design are under stabilized.
If you don’t use right stabilizer or the right amount of stabilizer your fabric will start to buckle and shift, as will your stabilizer. This shifting and excess of stitches will result in puckering fabric around your design.
The Fix: Correct your stabilizer.
Change up your stabilizer! You either need a different type or a different weight, this all depends on the project, the material, the stitches and more.
Click here for my blog post about the Most Important Things to Consider when Choosing Your Stabilizer.
 5")
Click here to learn more about Stabilizer School
Looping
The Problem: Random looping of your embroidery thread.
If you have a few, infrequent and random loops, it’s a bummer but it’s an easy fix! If everything else looks awesome in your embroidery then I wouldn’t adjust anything, I’d just invest in the best tool ever.
The Fix: Loop and Tail wand to the rescue!
This tool is awesome and I was kidding about it being an investment cause it only costs a few bucks. This tool allows you to take care of the random loops and any tiny annoying tails sticking up.
Click here to get your very own loop and tail wand
(This is an affiliate link)
Here’s a video on how to use the wand on your loops:
The Problem: Constant looping of your embroidery thread.
The key word here is constant! If it’s so bad that it would be a real undertaking to fix all these loops or not even possible to fix them all, then we know we have a real issue at hand.
The Fix: Check your needle and your tension.
Looping on the top of your embroidery is typically caused by tension issues. Don’t be afraid to adjust your tension with embroidery, the same way you would with sewing; In this case you want to see if your top tension is too loose or bobbin is too tight.
 6")
Alignment Issues
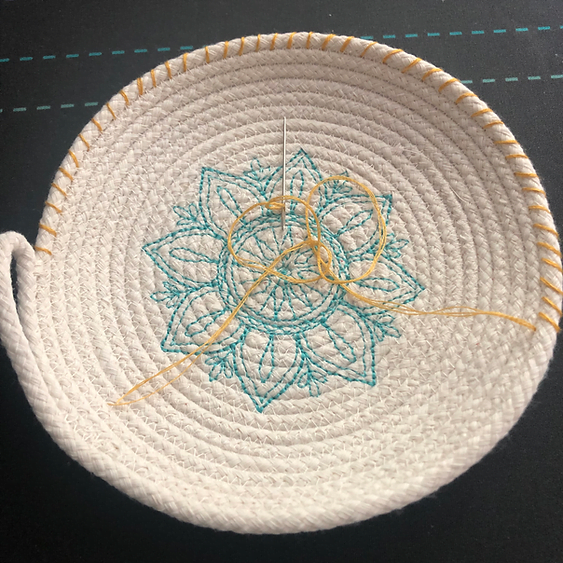
The Problem: Your design isn’t aligning properly
If you notice the the fill stitches and outline stitches aren’t aligning properly or that elements of your designs aren’t where they ought to be, this is called “alignment” and ours is allllll wrong.
You can see in the photo below that not only is the outer circle not in the correct spot (1) but my stripes (2) are all over the place.
 7")
The Fix: Stabilizer! Again!
This is another issue that all boils down to choosing the right stabilizer.
When your stabilizer and fabric buckle under the pressure of your stitches, it’s because the stabilizer can’t handle all those stitches. When your design buckles, it shifts which means the next element you stitch out wont be where it’s supposed to go.
You can learn how to never ruin another embroidery with the wrong stabilizer ever again by joining Stabilizer School. Click here for more info
Check back for more common embroidery mistakes and how we can fix them as I add other great ways for you to trouble shoot your embroidery!
Click here to follow Tough Kitten Crafts on YouTube as I will be making videos all about these common embroidery issues and more.


2 Responses
Very nice information Thread . Good blog written . I like.
but a regular sewing machine takes longer to make an embroidery design. and its so harassing to do the job with a sewing machine. So in this case everybody should use an embroidery machine for the job