

Updated: Aug 22
Machine Embroidery stabilizer is the worst. Okay it’s not the worst, but that’s how it can feel when you first start out with machine embroidery.
Learning machine embroidery stabilizer basics is so intimidating for machine embroidery beginners! The bad news is it’s simultaneously the most important thing you need to know and understand for perfect machine embroidery while also being the most confusing part of it.
Hi! I’m Kate and I empower sewists to become fearless with machine embroidery.
Today we are gonna tackle machine embroidery stabilizer basics, so let’s get right into it.
What is Stabilizer?
Stabilizer is the foundation of machine embroidery; it supports stitches and fabric as the embroidery stitches out. Choosing the right embroidery stabilizer is paramount to perfect machine embroidery.
There are many stabilizer types, weights and categories and we use each one in a different way, for different reasons. Don’t worry, I’ll break this down more in a little bit but let’s introduce you to some stabilizer basics.
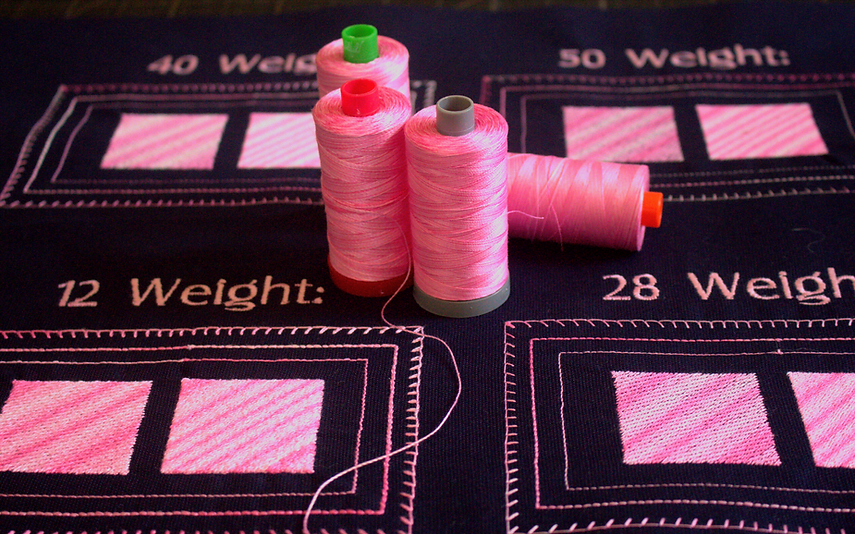
Stabilizer comes in three weights: Light, Medium or Heavy.
We choose the weights based on the design, how many stitches, the fabric and more.
Stabilizer comes in many types: Backing, topper, fusible and adhesive
We choose the type of stabilizer we need based on the project, the material and more.
Stabilizer also comes four categories, the names of these categories are incredibly useful in letting us know how to use the stabilizer, when to use it and often how to remove it after machine embroidery.
The categories are: Cut Away, Tear Away, Wash Away and Specialty.
Keep reading for more information about the weights, types and categories.
Why do we use stabilizer?
Stabilizer has a few different purposes in machine embroidery, which can change a little depending on your project and fabric, but it’s biggest purpose is to keep your fabric and stitches from shifting during embroidery. When our fabric or stitches move around during embroidery it can cause alignment problems, puckers in the fabric and more. Stabilizers can help us float materials that cannot be hooped by themselves, control fabric knap, add body to our fabric and more. To further understand how stabilizers help your embroidery you will need to dive into more specific knowledge about individual stabilizers and their categories, weights and types.
Last year I created a blog post called Stabilizer Breakdown which I am going to quote, basically in its entirety, below. This way you can book mark this blog post and have a great compendium of machine embroidery stabilizers.
Let’s dive into the categories, types and weights of stabilizer.

Click here to learn more about Stabilizer School
While each brand chooses which stabilizers go into each category, these categories are steadfast across every brand. The three main categories are aptly named for how you can remove the stabilizer after stitching out, which is the main first (and maybe most important) piece of info you need while choosing your stabilizer. Let’s do a quick break down:
Cut Away
Cut Away is removed by cutting it away from your fabric/stitches and it’s the most user friendly stabilizer. It stays through wash and wear so you should only use it when you want stabilizer to stay with the project forever.
Tear Away
Tear Away is removed by tearing away the stabilizer from the stitching, though it’s more like tearing a long the perforated edge of the stitches. Tear away has awesome uses away from embroidery like decorative stitches, button holes and tricky hems.
Wash Away
Wash Away stabilizer does exactly that: it washes away without a trace. This is great for sheer fabrics or freestanding lace objects where you want no remnants of stabilizer.
Specialty
Specialty is the nebulas category…it’s basically the “And the rest!” from the Gilligan’s Island theme song. Specialty stabilizers help support your embroidery projects aren’t strictly “stabilizers”
Within each category of stabilizer you then have stabilizer weights. The weight of the stabilizer tells you how strong the stabilizer is and how many stitches it can stabilize. Another good rule of thumb is the heavier the fabric the heavier the stabilizer you should use. Below is a general guideline for how many stitches in a design work best for a stabilizer weight, but ultimately you have to use your best judgement, see what your brand stabilizer recommends for their various weights and take into account your stitch density for your design.
Light Weight
Roughly 12,000 or less.
Great for line work
Medium Weight
Roughly 12,000 to 25,000
Medium weight covers your butt for pretty good amount of your designs.
Heavy Weight
Roughly 25,000+
Oh yeah momma! This is for a lot of stitches.
Last but not least let’s cover some stabilizer types.
These types of stabilizer can be in any category.
Backing
Backing is what most people think of when they think of stabilizers, the paper like substances that go behind your embroidery. Stabilizer is known as “backing” in commercial embroidery.
Topping
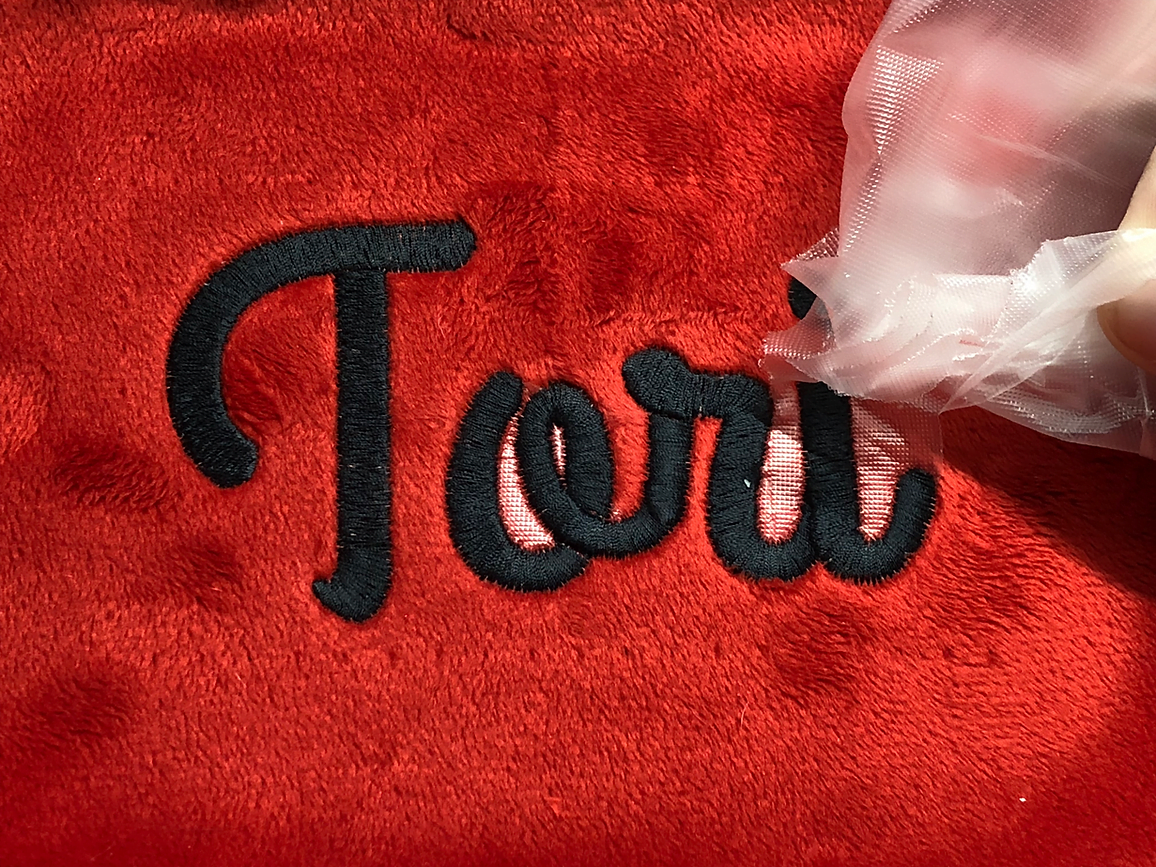
Backing is Topping is the opposite of backing, which makes sense with the name right? If you are dealing with fabric that has a pile or nap to it, you want to use topping on the top of it to be sure your design isn’t effected by the texture of the fabric.
Cover Up
Cover up is used when your fabric has a high contrast design on it or if your design is in high contrast from fabric and needs to stand out better. Cover up doesn’t wash away, it sticks around to continue to make the design look great.
Adhesive
Adhesive stabilizers are great for when your stabilizer cannot be hooped. If something is small, awkwardly shaped, too bulky or very delicate then you can use an adhesive stabilizer to float your project in the hoop. I love floating items, it’s great.
Fusible
I am also a huge fan of fusible stabilizers and use them whenever possible. Fusible stabilizers will adhere to your fabric using heat, so they may not work for all material or project types, but they are a godsend when you can use them.

If you’re head is spinning a little at this point, that’s okay!
Stabilizer may seem overwhelming but with practice it will become second nature, just like anything else you have learned over the years. It’s good to intersperse learning about stabilizers with practicing using different stabilizers, because it’s that practical application and hands on knowledge that will help you understand stabilizers forever.
When you are ready to take your knowledge of machine embroidery stabilizers then you can join my class, Stabilizer School.
Inside Stabilizer school I not only cover these basics in video trainings I also help you learn my M.U.S.H.Y method, this is a step by step method to choose the perfect stabilizer every time. I also go in depth into every type of machine embroidery stabilizer so you know exactly what each one does and how to use it.
Check out more about Stabilizer School here.
How to Choose Stabilizer
The following is a excerpt from my blog post called “2 most important things to consider when choosing your embroidery stabilizer”
There are five things you must consider when choosing the perfect stabilizer for your embroidery project. Let’s dive into the two most important of these five things…
What Material Are You Using?
This is truly number one on the list of what to consider when choosing your stabilizer.
This is so important that it’s the first letter, the “M”, in the The M.U.S.H.Y. Method.
One of the main reasons there are SOOOOOO many stabilizer options is because there are SOOOOO many material choices for embroidery: Leather, cotton, linen, toilet paper, tongues of shoes, jersey, terry cloth, minky, suede…the list goes on and on.
Each material has it’s own unique properties you have to consider.
While this is not a complete list, here are a few things to take into account about your material: -Is there stretch? -How loose is the weave? -Is there a nap or pile to the fabric?
-Can it get wet? -Can you put heat to it?
-Do you need to be delicate with the fabric?
-Is it easily marred?
From here you can make some really important decisions about your stabilizer.

Learn to choose the perfect stabilizer, every time.
Some examples of what this information tells us is…
-If there is any stretch to the material we know that we have to use Cut Away, to support the embroidery and fabric as the material stretches.
-If there is a pile or nap to the fabric we will need a topper to make sure the texture doesn’t interfere with our embroidery
-If the fabric cannot be ironed then we can absolutely rule out any fusible or heat away stabilizers.
-The fabric weight can help us choose a stabilizer weight; is the fabric sheer, like an organza? Or is a heavy weight fabric like a wool?
As you learn what stabilizers work best with different materials you will instantly see your embroidery skills flourish.
Click here to keep reading about how to choose embroidery stabilizers.
Here are a few other suggested blog posts all about machine embroidery stabilizers:
–Five Must Have Machine Embroidery Stabilizers
–Common Machine Embroidery Problems (And How to Fix Them!)
Remember! This may make your head spin now but it won’t forever!
With the right knowledge and frequent practice you’ll be a stabilizer Genius in no time flat.
Hop into Stabilizer School to learn all about machine embroidery stabilizers and to learn to choose the best stabilizer for perfect embroidery, every time!
What is tripping you up with machine embroidery? Comment with any questions below so we can get you on the way to fully understanding machine embroidery stabilizers.
xoxo Kate

2 responses to “MACHINE EMBROIDERY STABILIZER BASICS”
I’ve read your blog. It was really fantastic and the way you described it is also professional. Will love to read your incoming blogs too, really appreciate your work and dedication.
Experience top-quality online embroidery digitizing with I Love Digitizing, where we bring your creative visions to life with precision and care.
Our professional vector art service at I Love Digitizing ensures that your designs are meticulously crafted, making them perfect for embroidery perfection.
Transform your ideas into stunning visuals with our expert tattered embroidery design services, tailored to elevate your embroidery projects at I Love Digitizing.